iMac G5 Screen Upgrade
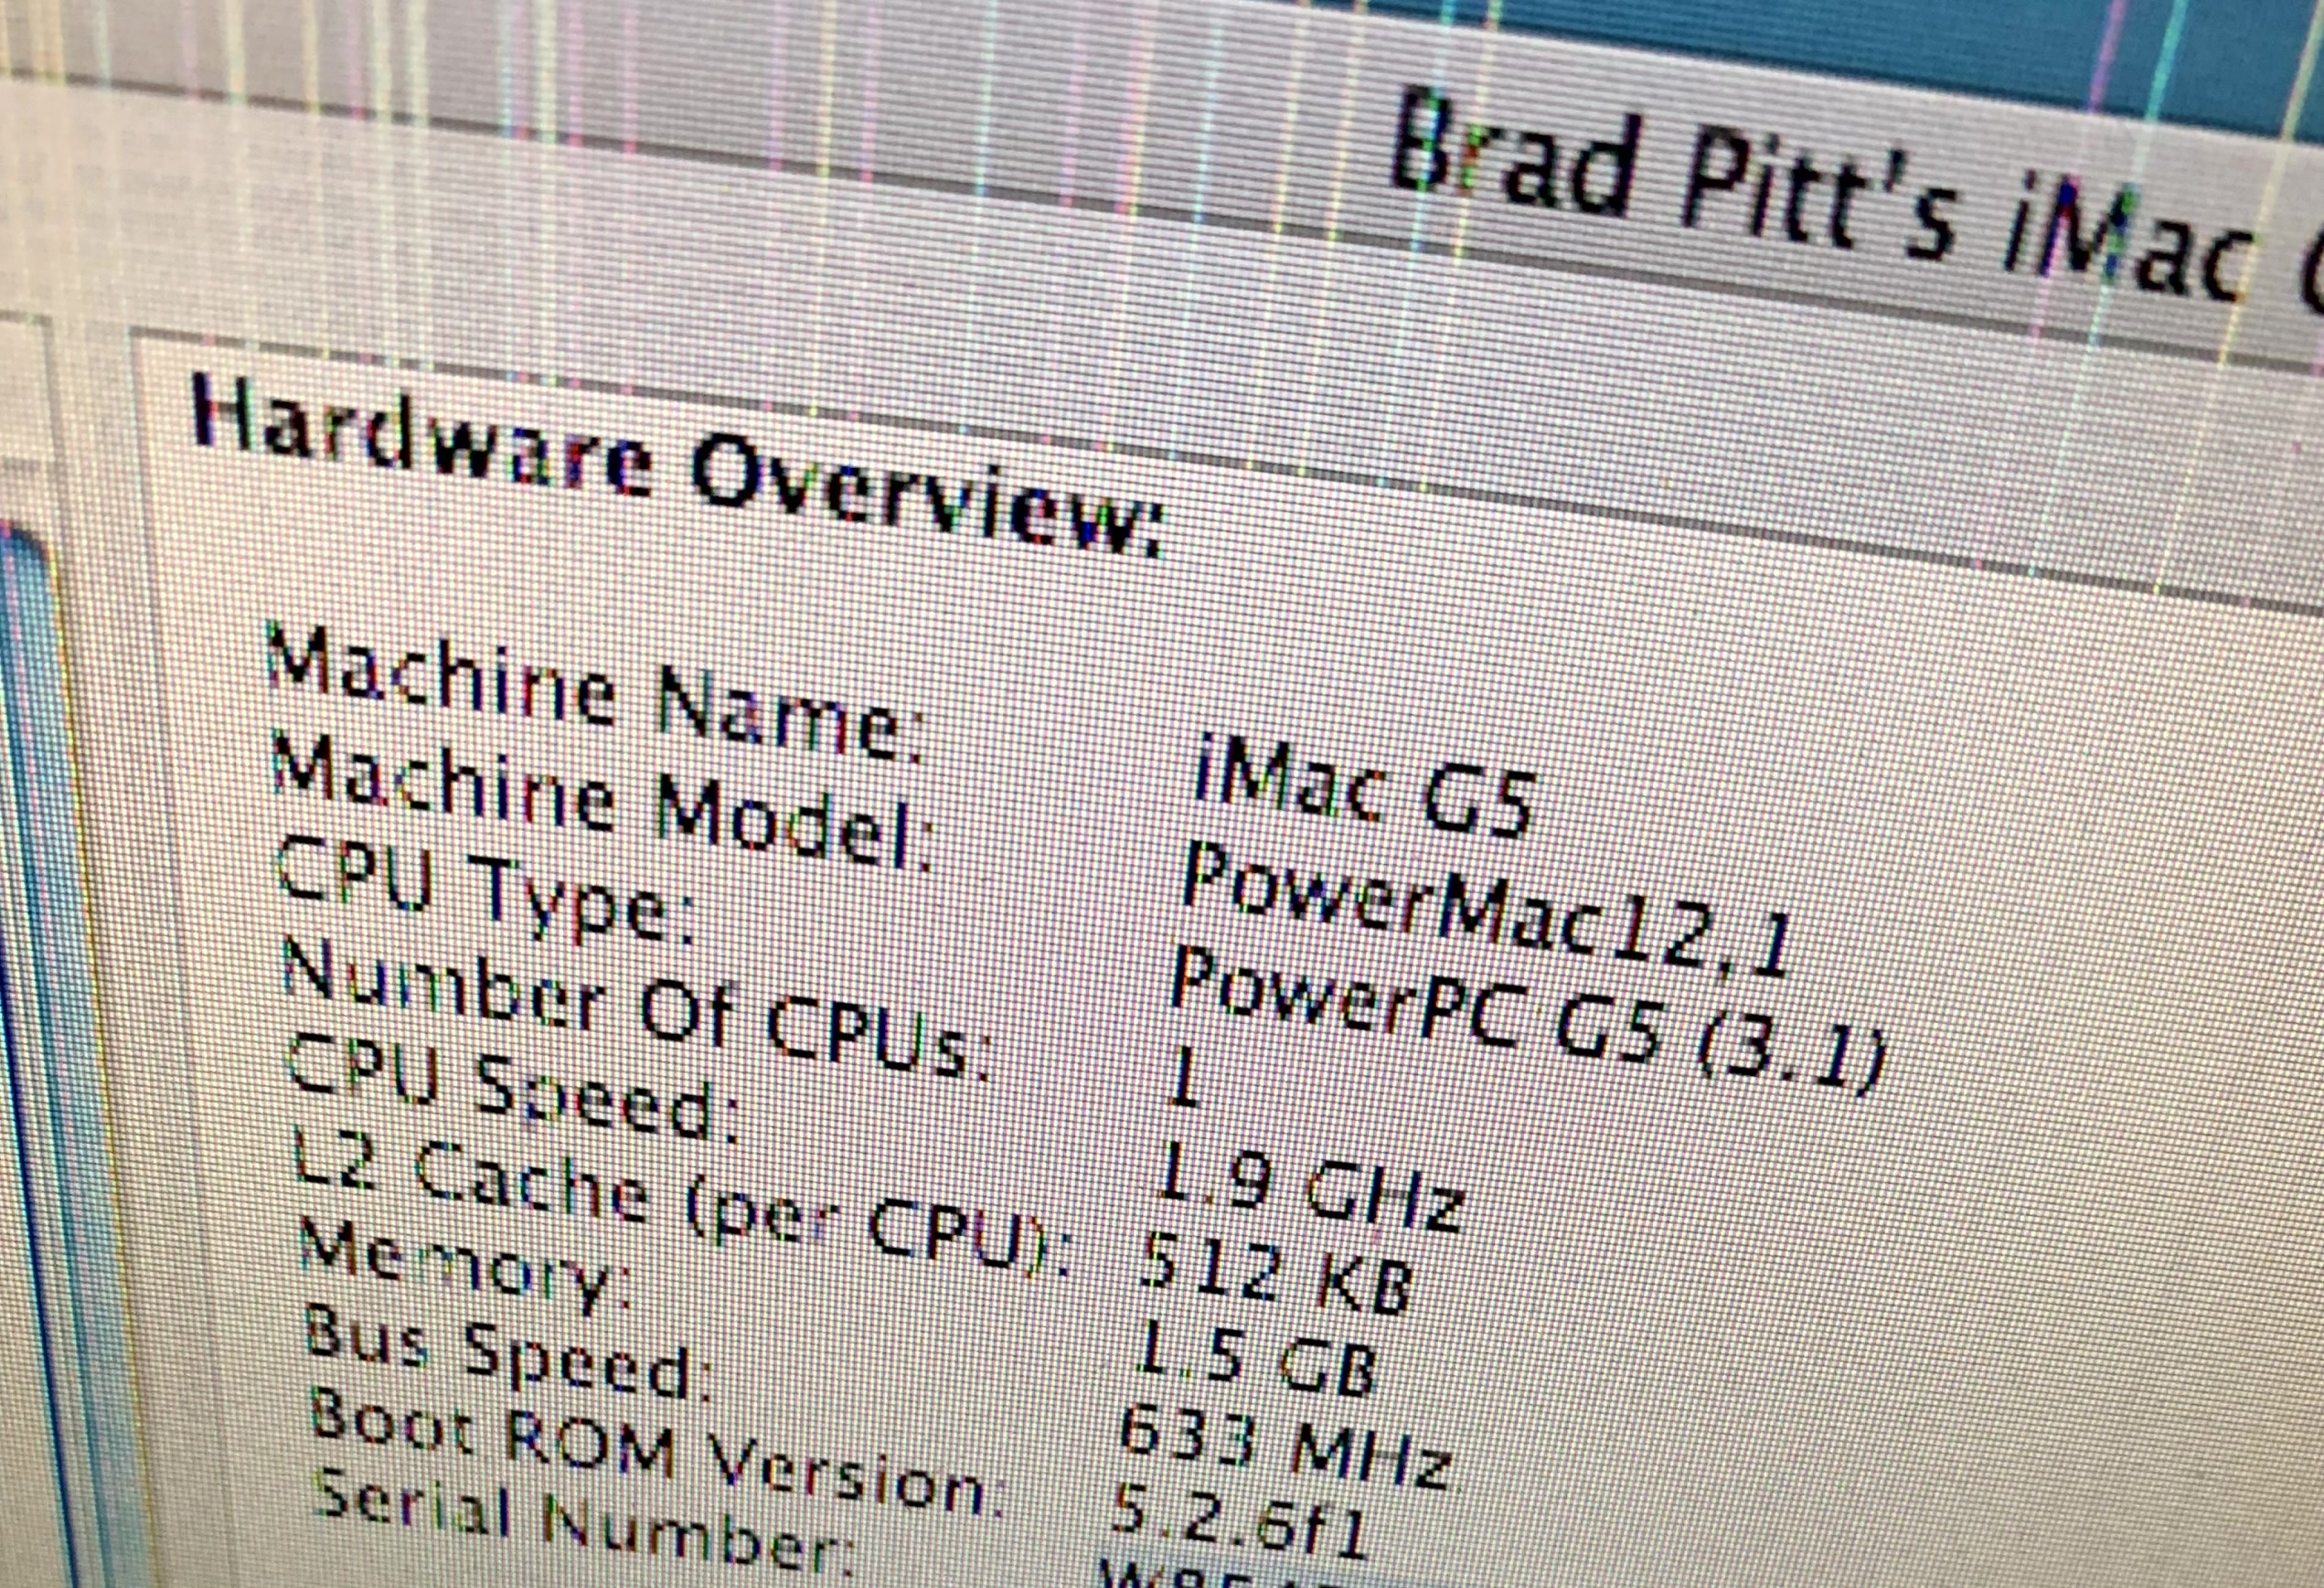
I recently performed some hardware upgrades on an iMac G5 1.9 GHz 17" (iSight) from late 2005, and I thought I’d share some insight into the process, some pictures, as well as the final result.
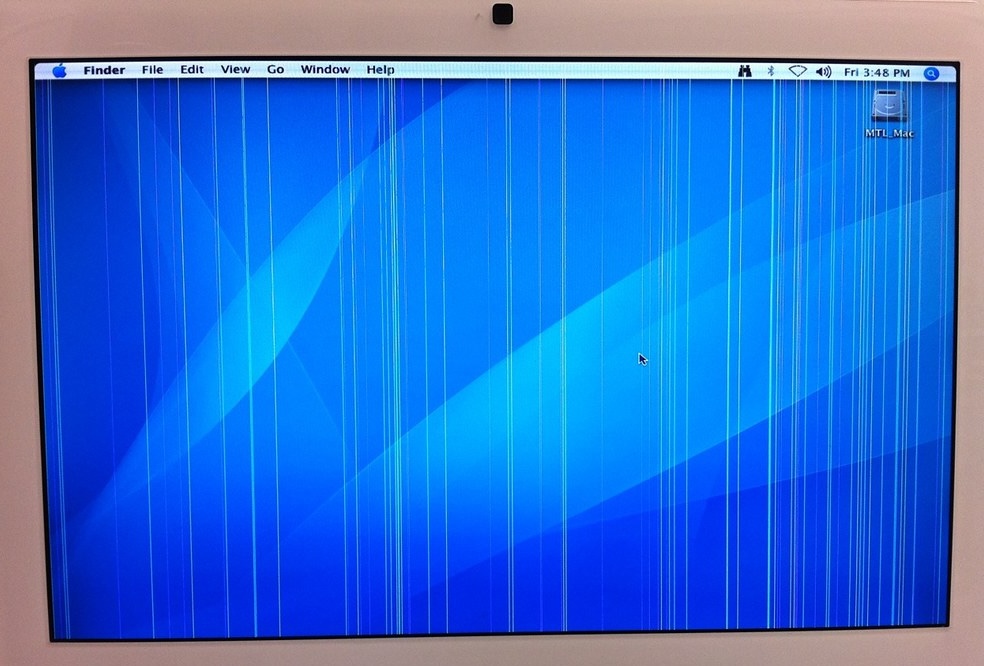
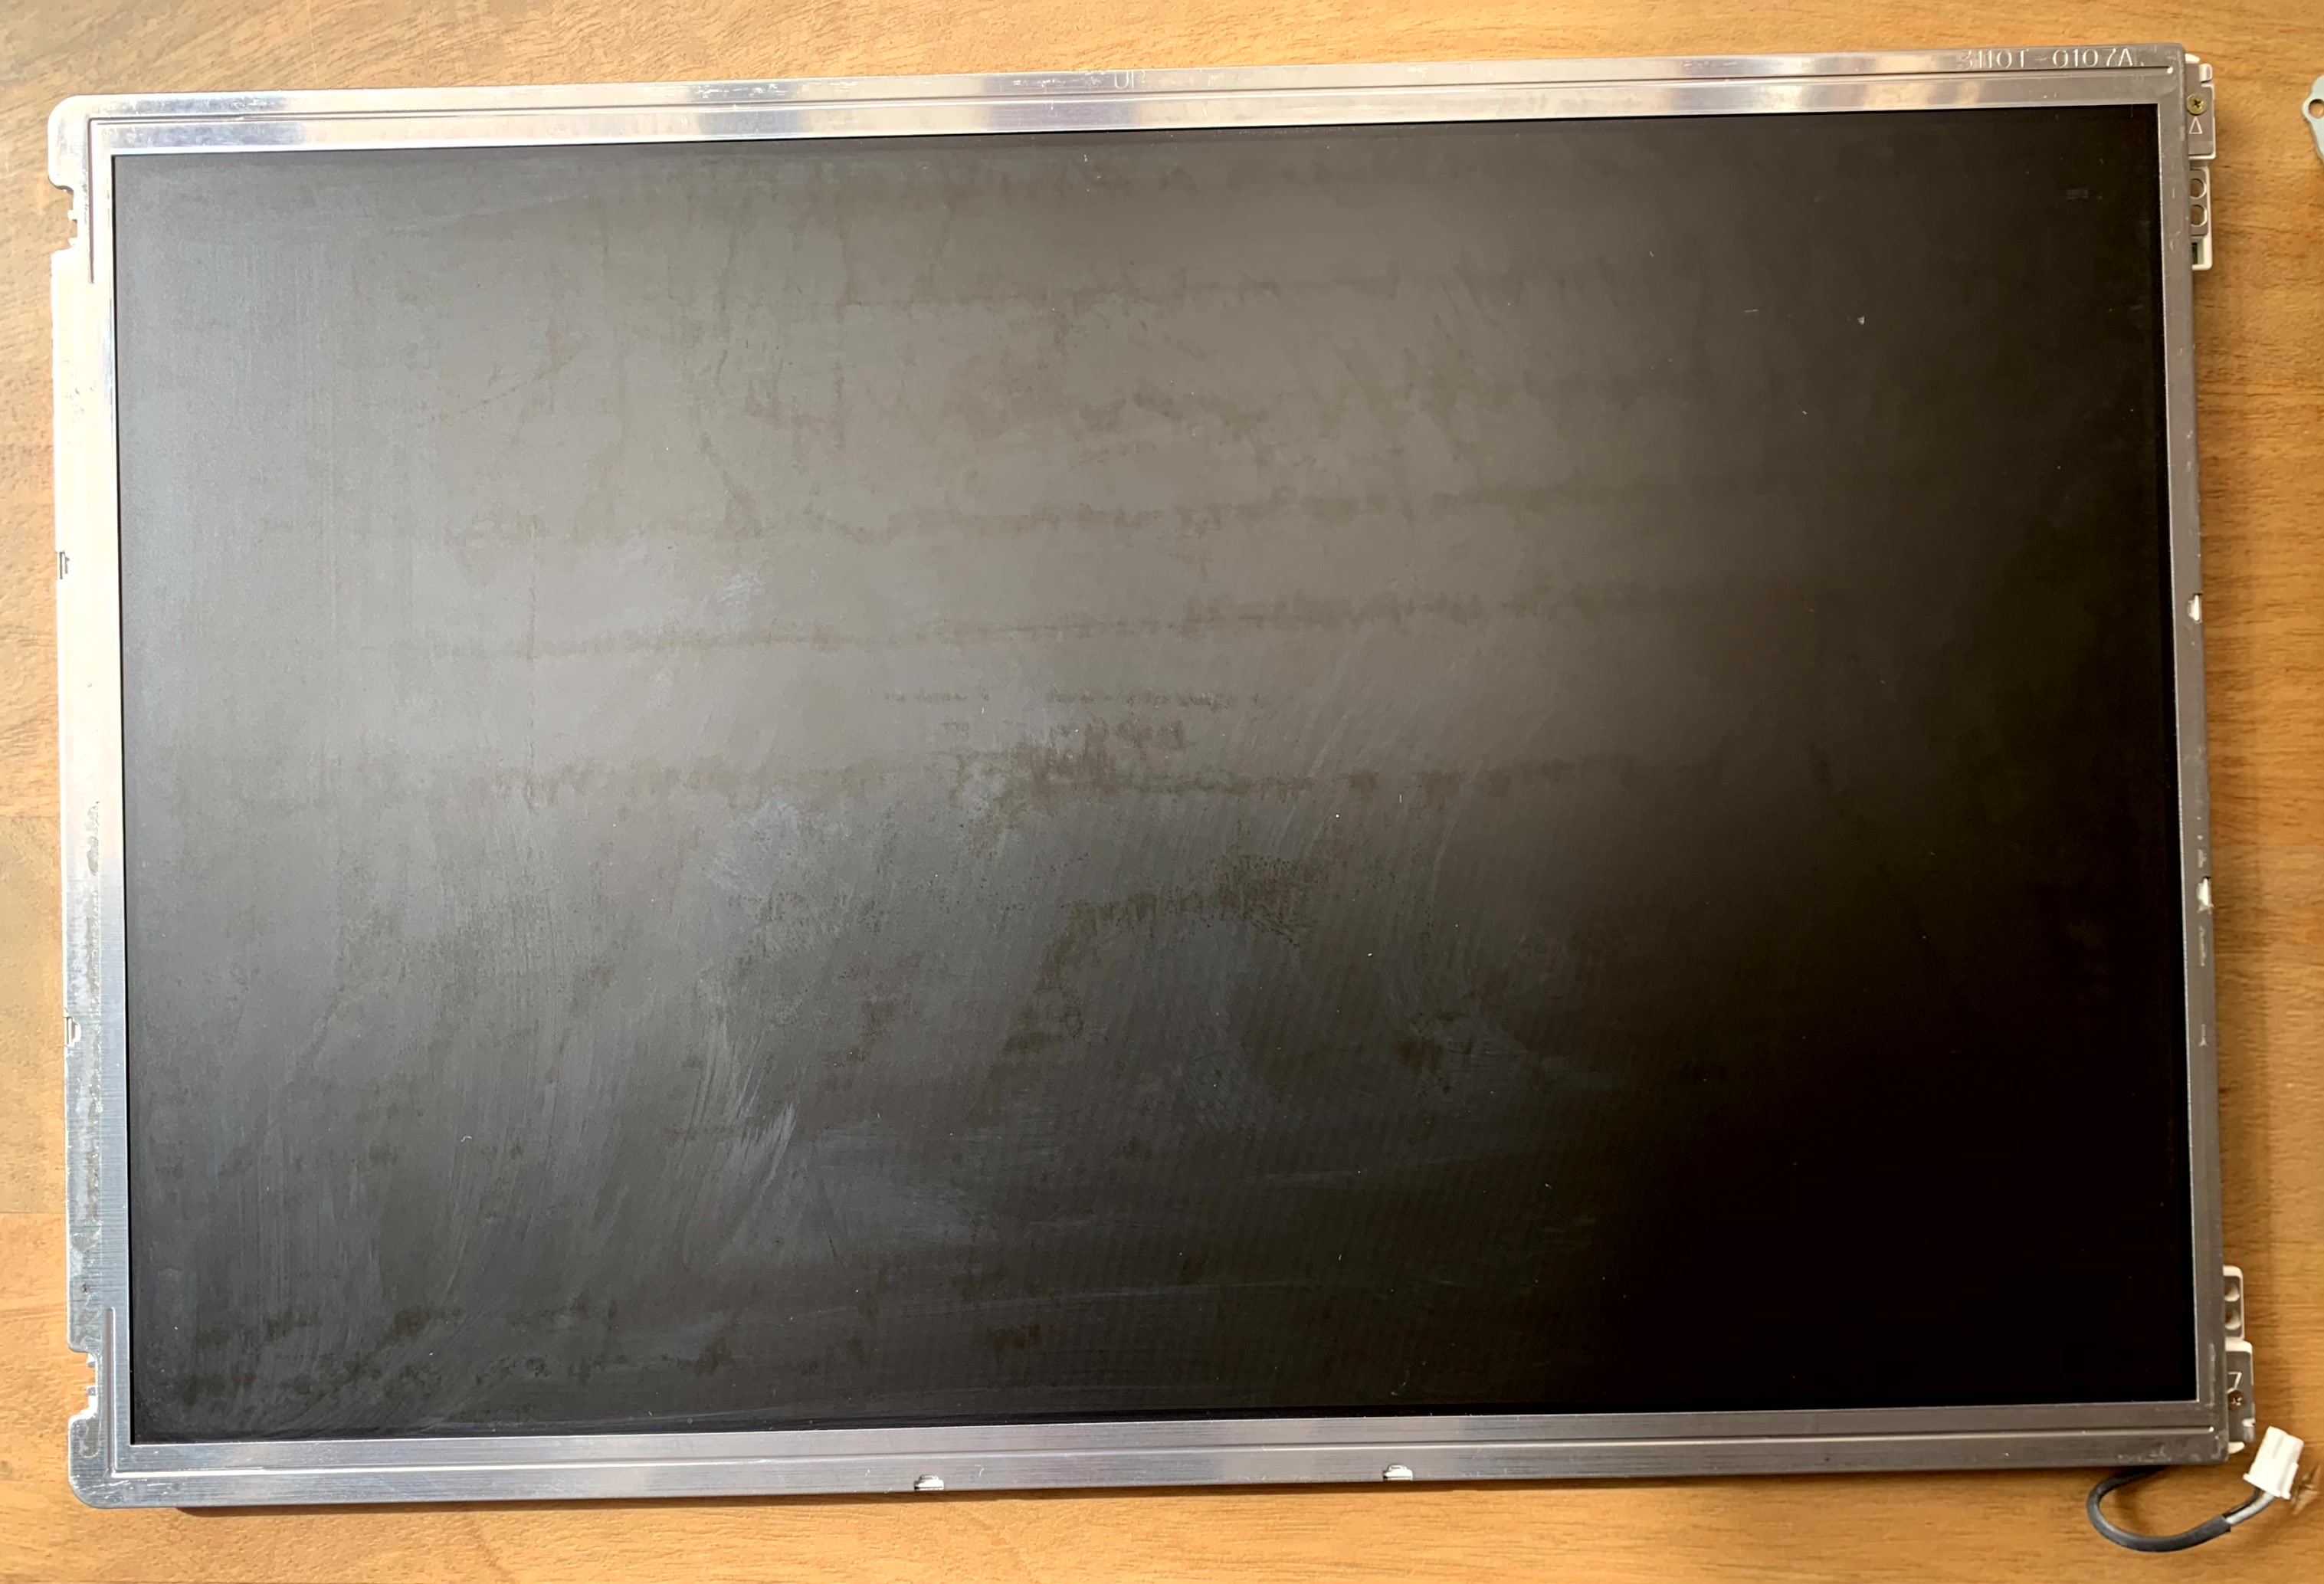
The original idea was to replace the screen, which was suffering from the infamous “vertical lines” issue, with a new one. Then I thought I'd take this opportunity to also upgrade the RAM from 1.5 to 4.5 GB, and replace the 3.5" HDD with a 2.5" SSD.
Buying new hardware
RAM
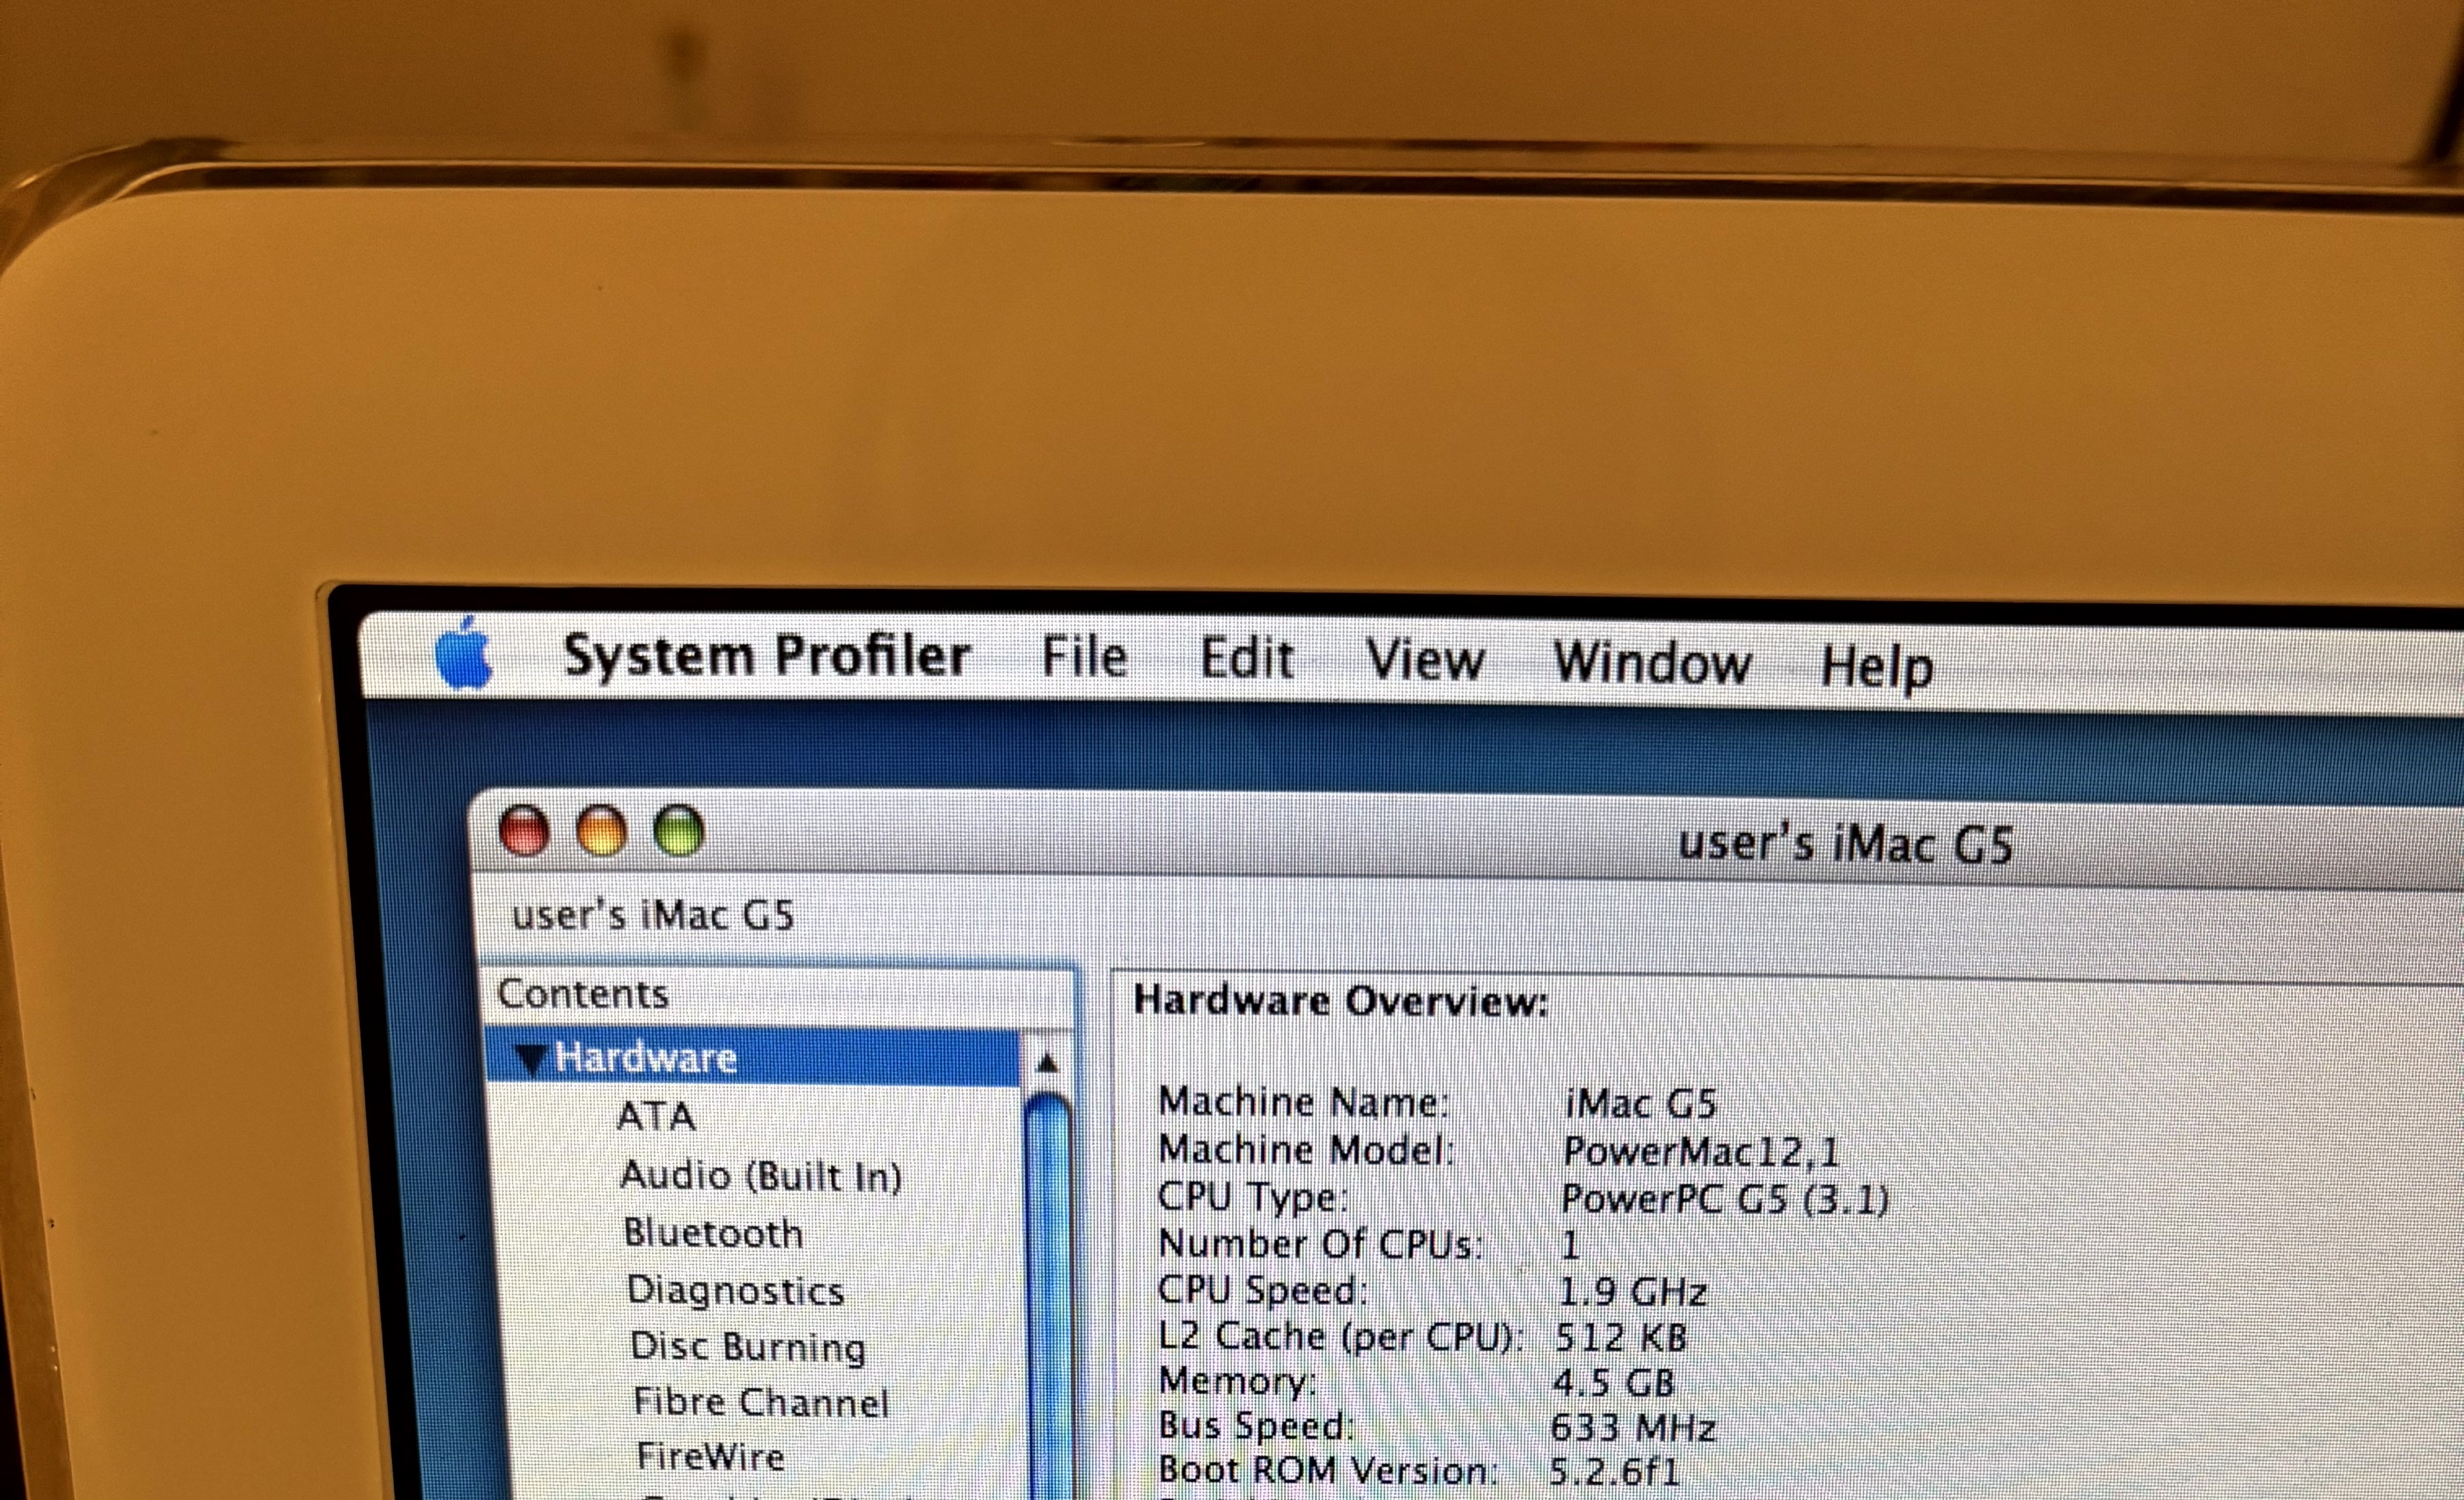
As stated on the EveryMac.com website, the official maximum amount of RAM supported is 2.5 GB (the internal 512 MB and an extra 2 GB RAM module). However, as also noted there, it’s very well possible to put a 4 GB RAM module.
The RAM module should have the following specs: 4 GB Samsung 2Rx4 PC2-6400U-666. After some online digging, I settled for the one in the picture below, which I ordered on eBay for $13:

SSD
I initially put a Crucial MX500 SSD in the iMac, only to find that it wasn’t recognized by Disk Utility. I tried again with a Samsung 870 EVO 500 GB and it worked perfectly. Cost: $62.
Screen
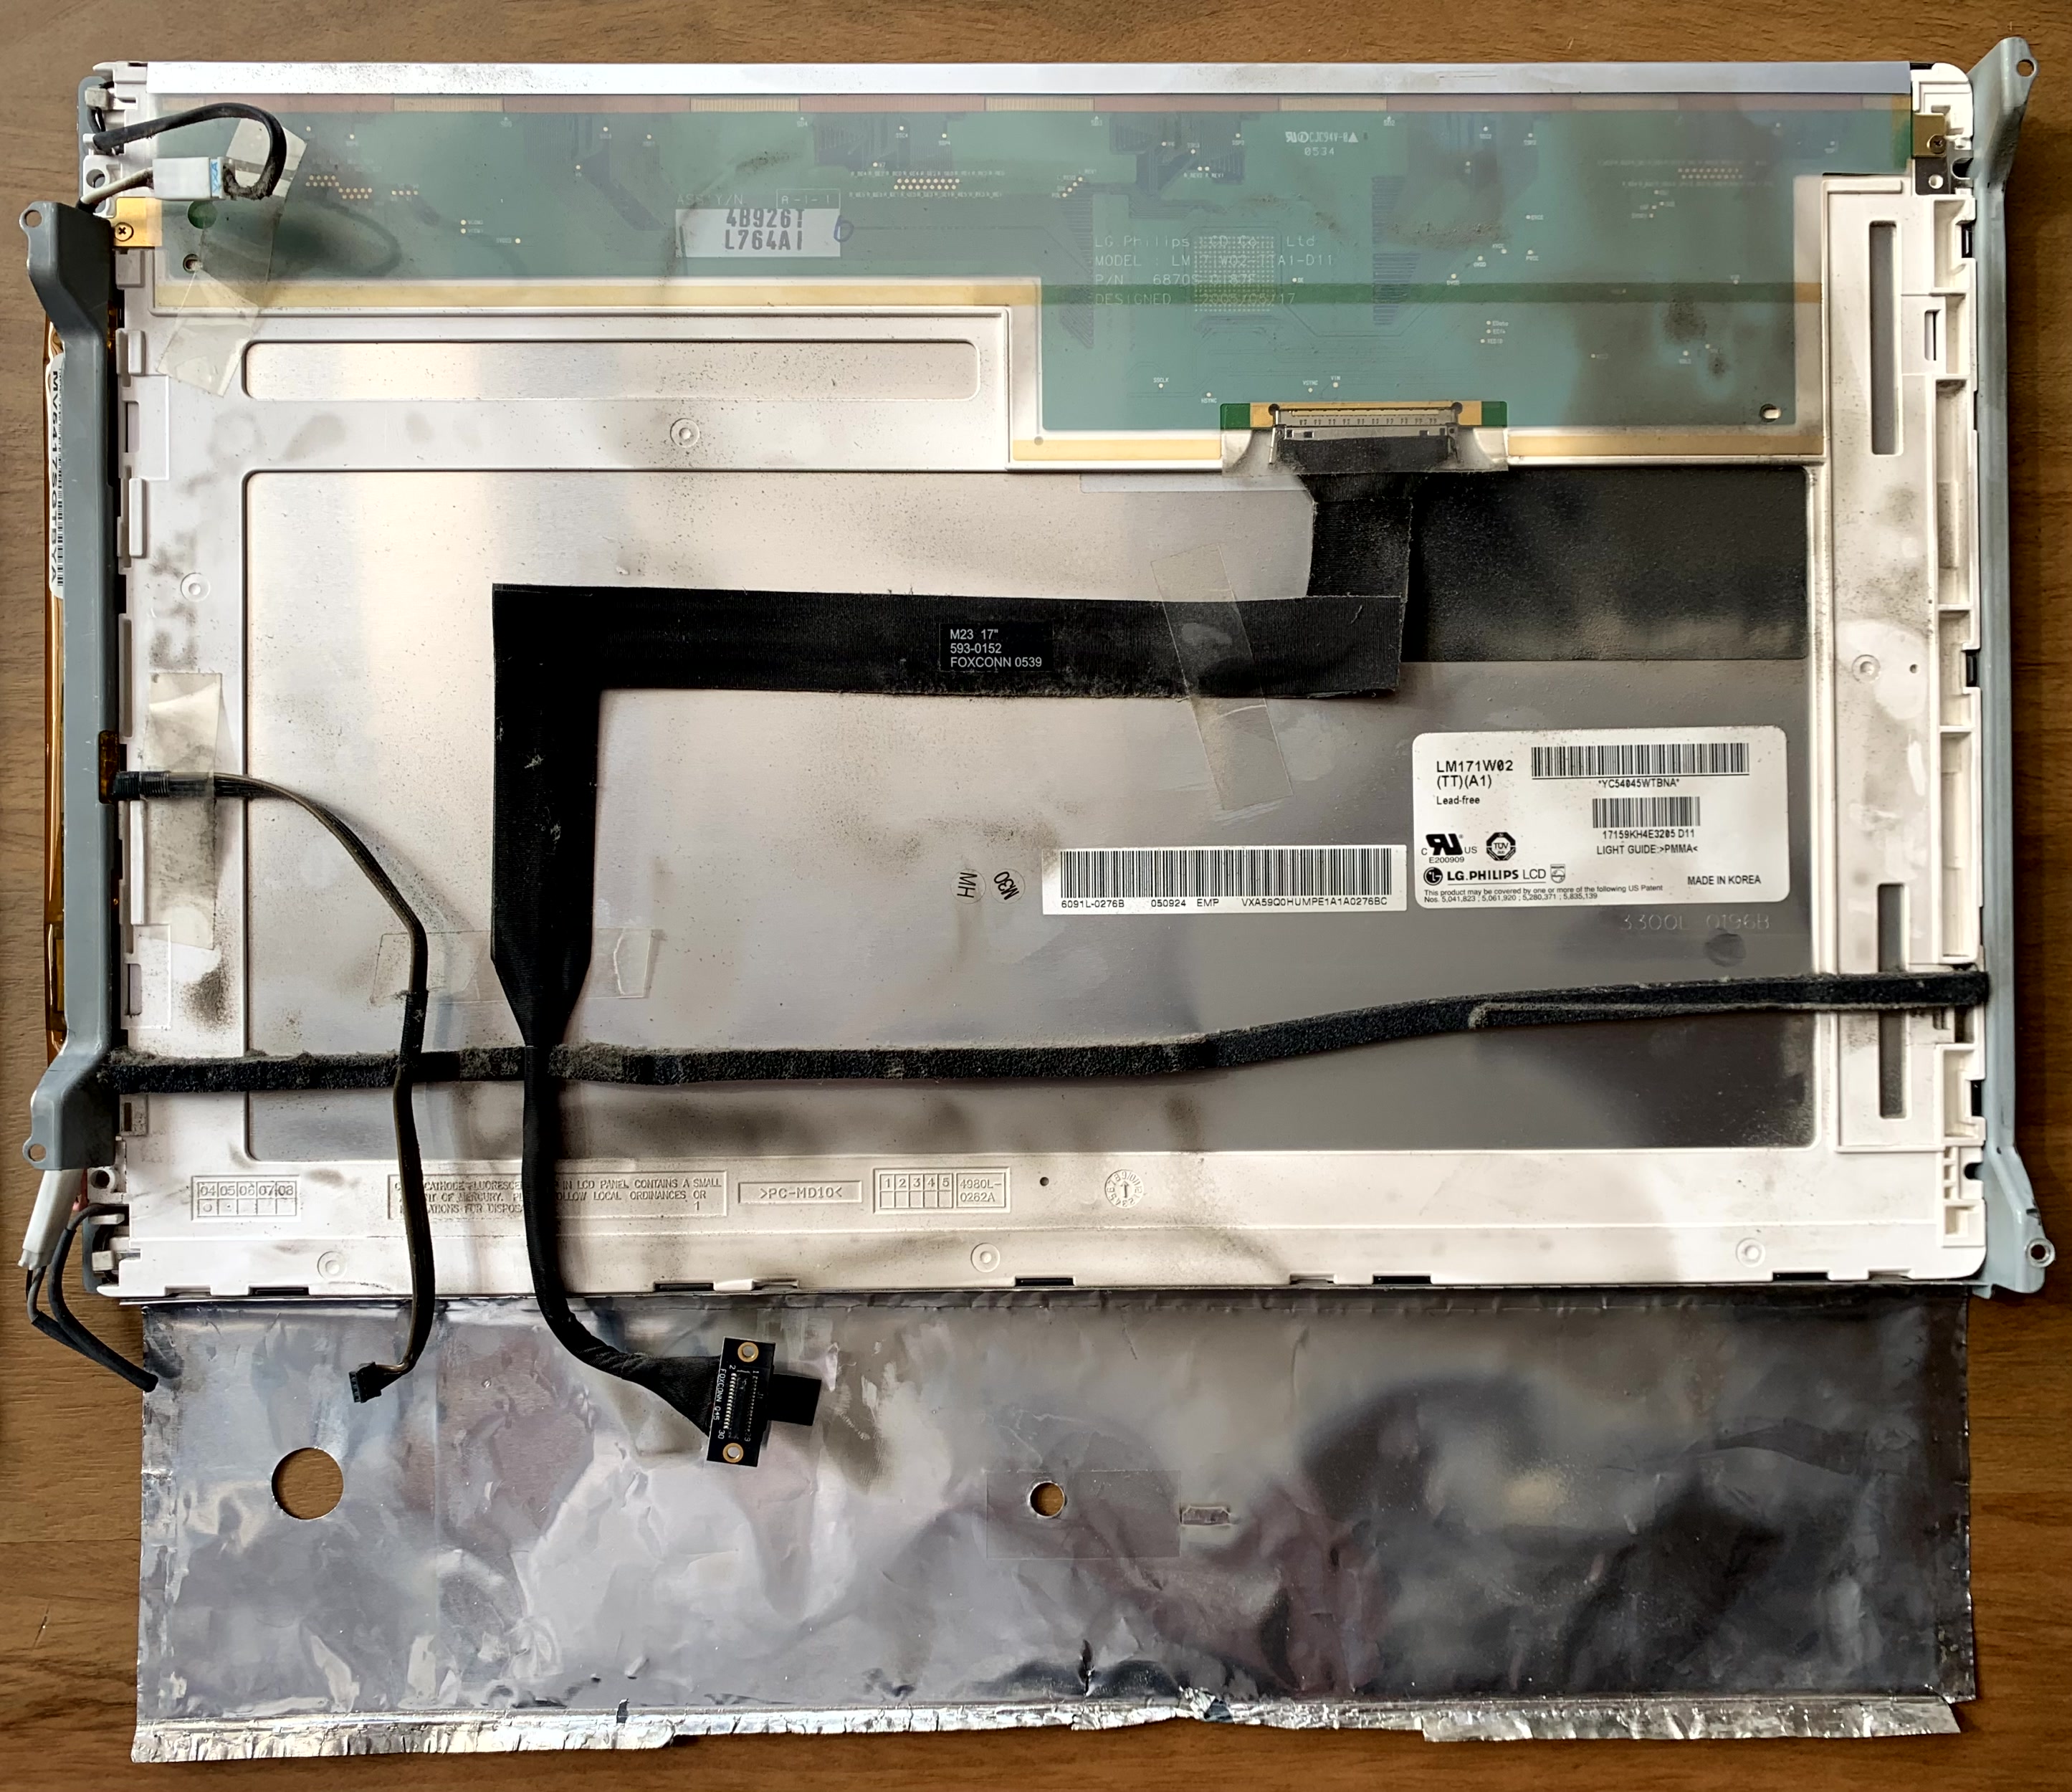
I bought the 661-3789 Apple LCD Display Panel on DV Warehouse for $89 plus $112 for shipping!
Total cost of the upgrades: $276.
Performing upgrades
Overview
On this page, we can find all iFixit guides for this iMac. However, we are mostly interested in the one for the RAM replacement, the hard drive replacement, and the screen replacement.
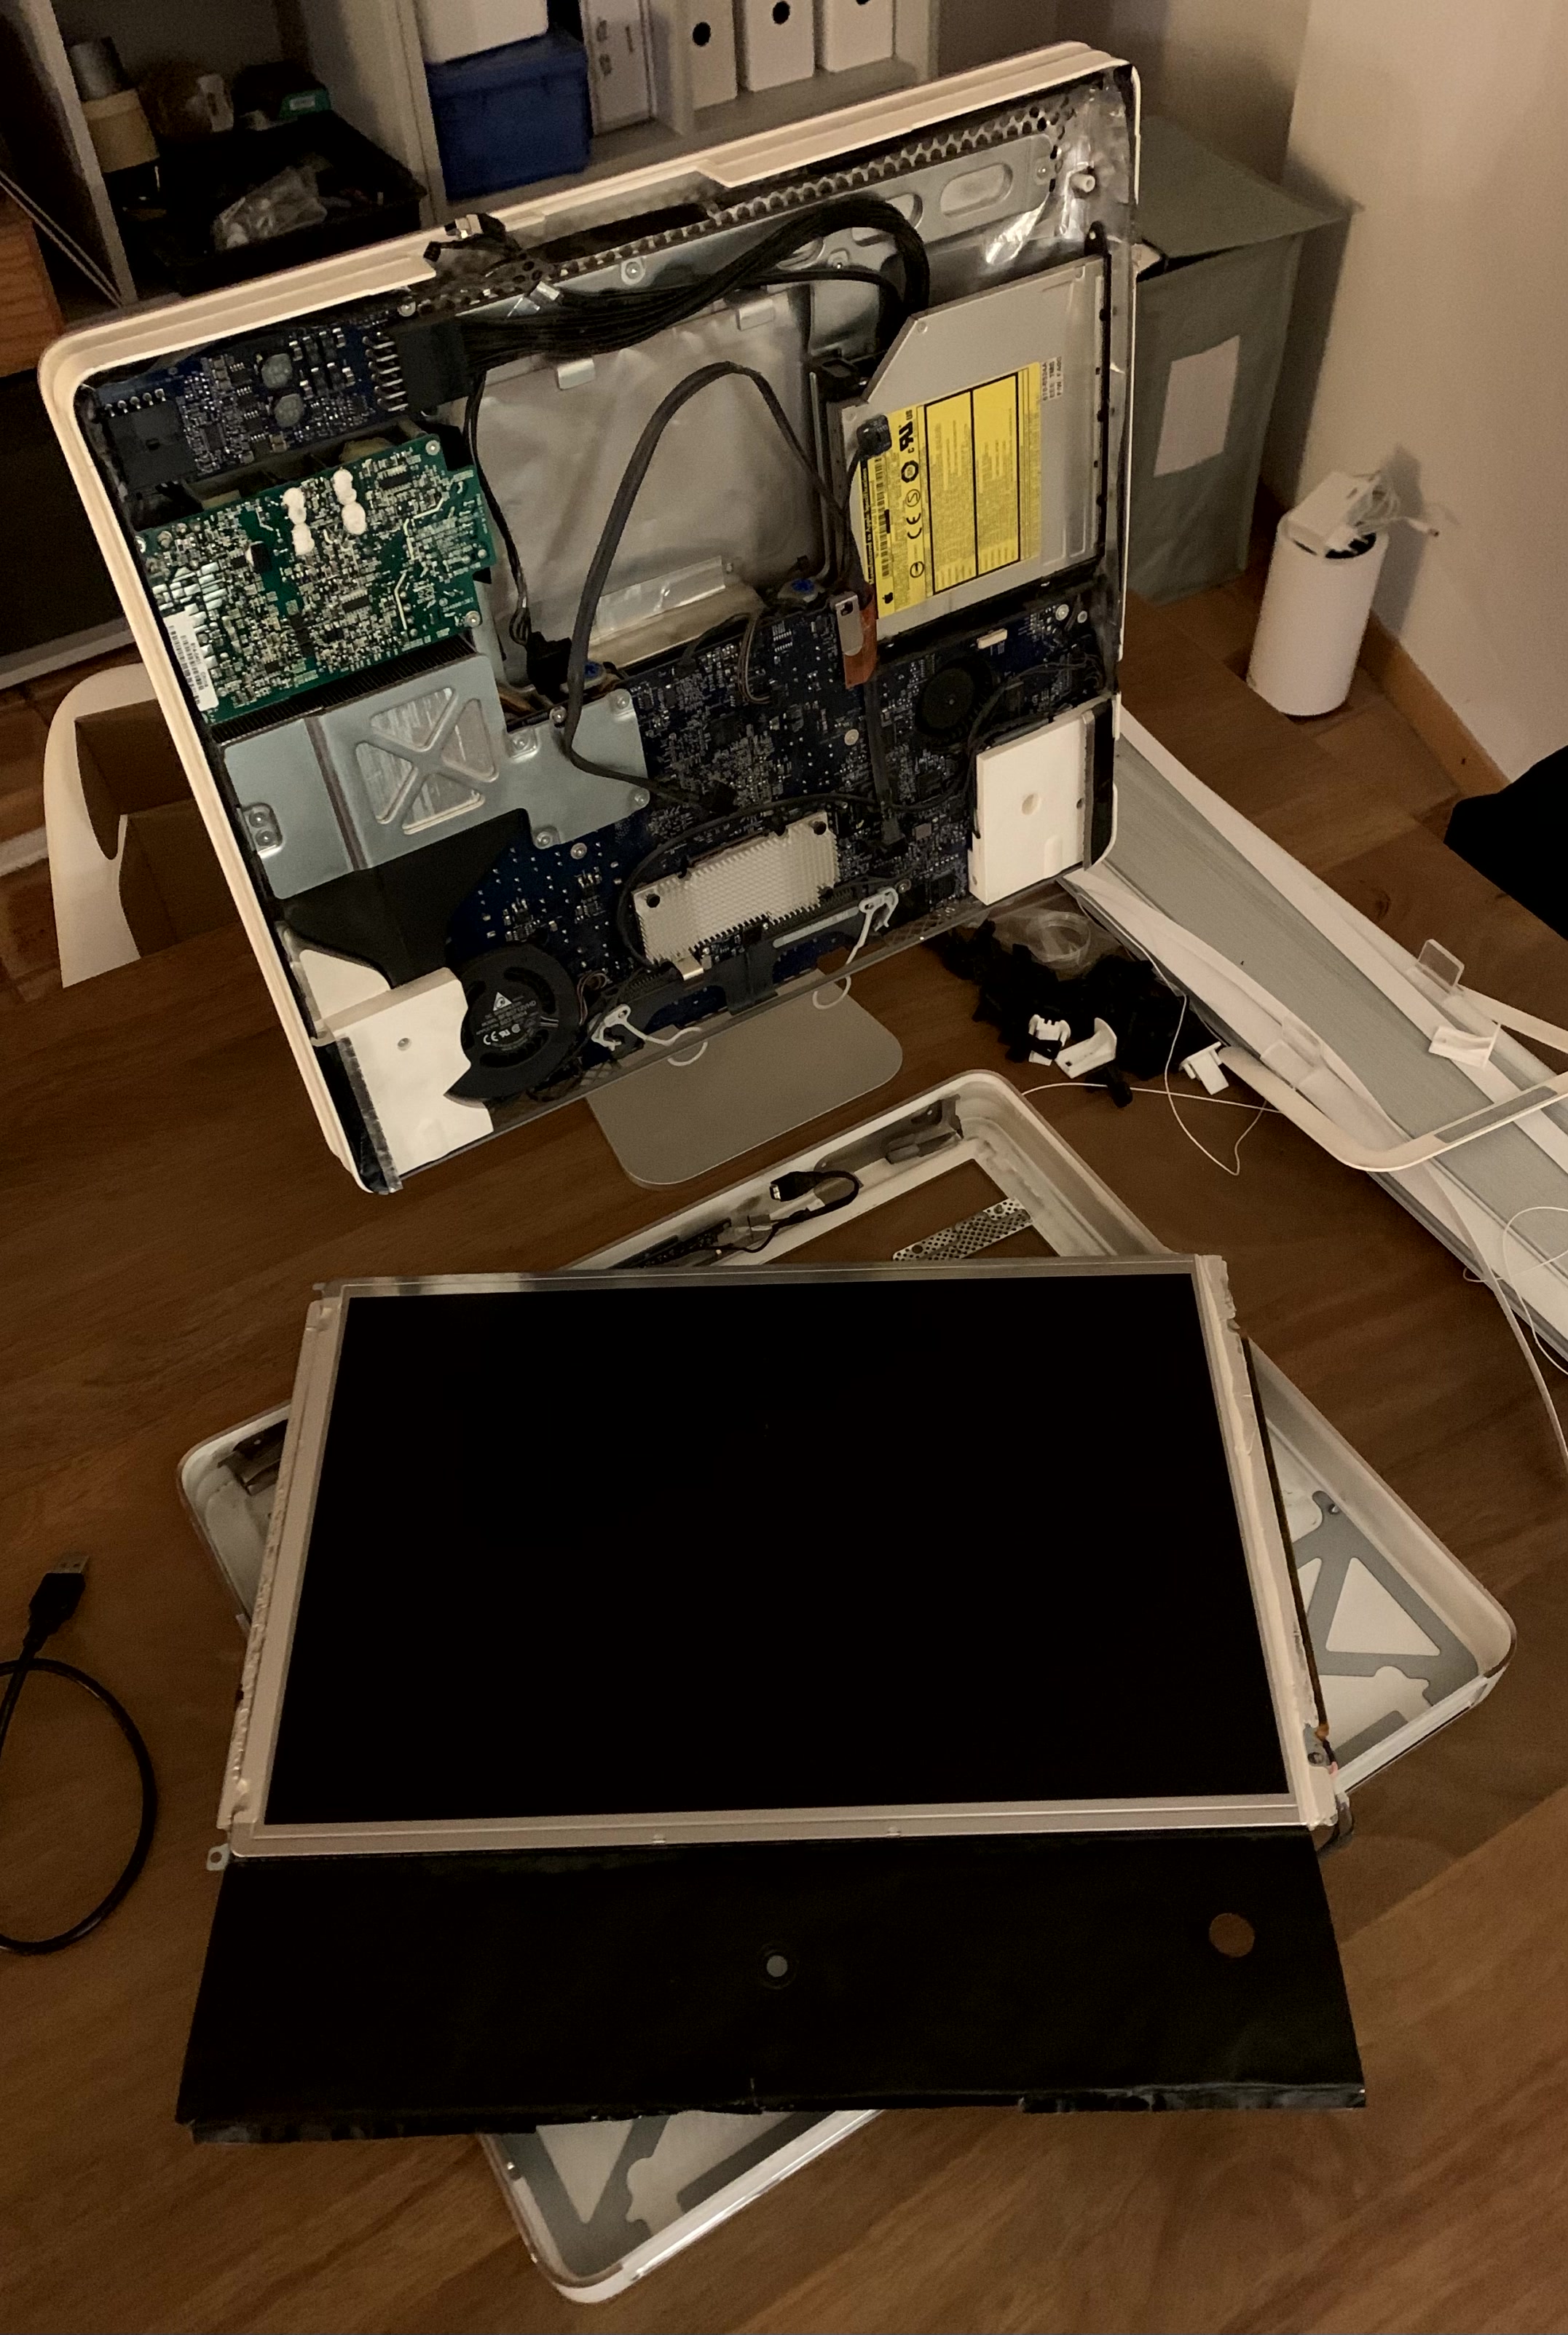
These guides are a great resource, so read them carefully! The guides make it look easy, but it’s not so and lots of patience is needed. Removing the white case is a bit of a pain, and disconnecting the iSight camera is equally tricky. Removing the screen is fine, but putting in the new one and reassembling the iMac is the biggest hurdle. Oh, and be mindful not to drop any of the screen screws behind the motherboard!
Changing the RAM doesn’t require opening up the iMac completely, so it can be done either before or after changing the screen and SSD. In order to remove the hard drive, you’ll first need to disconnect the screen. For these reasons, I suggest the following order of things:
- Upgrade the RAM.
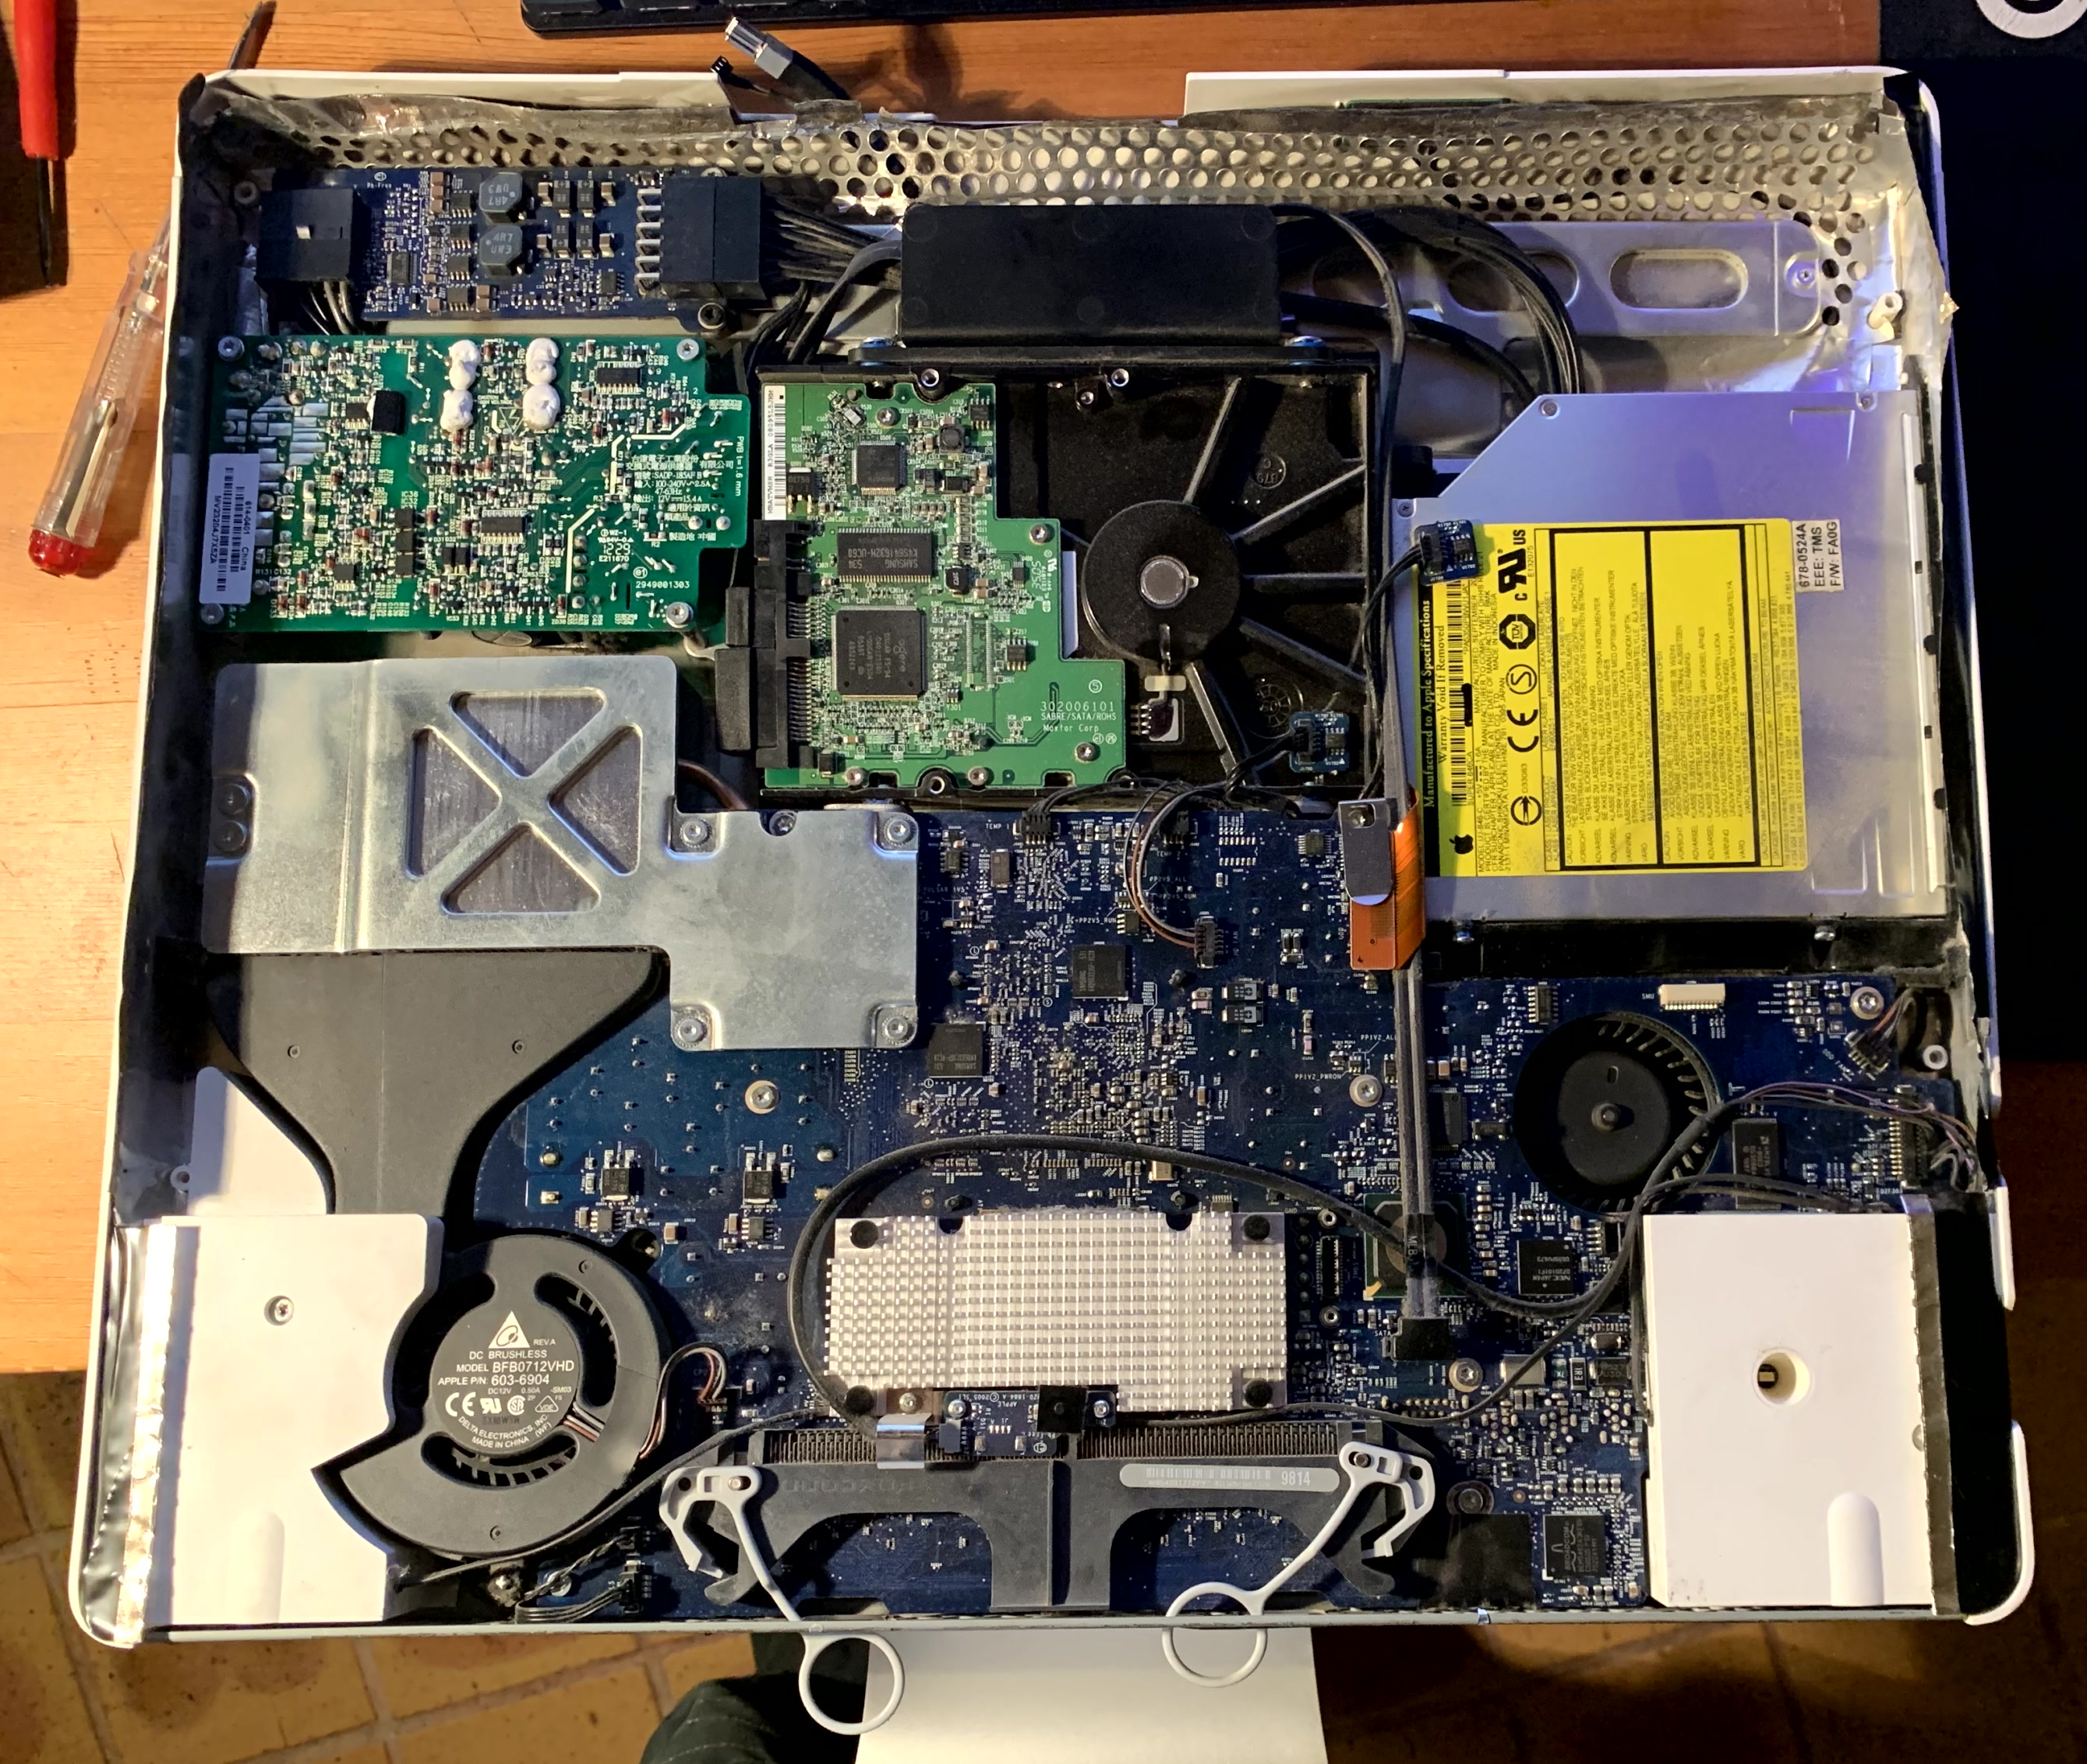
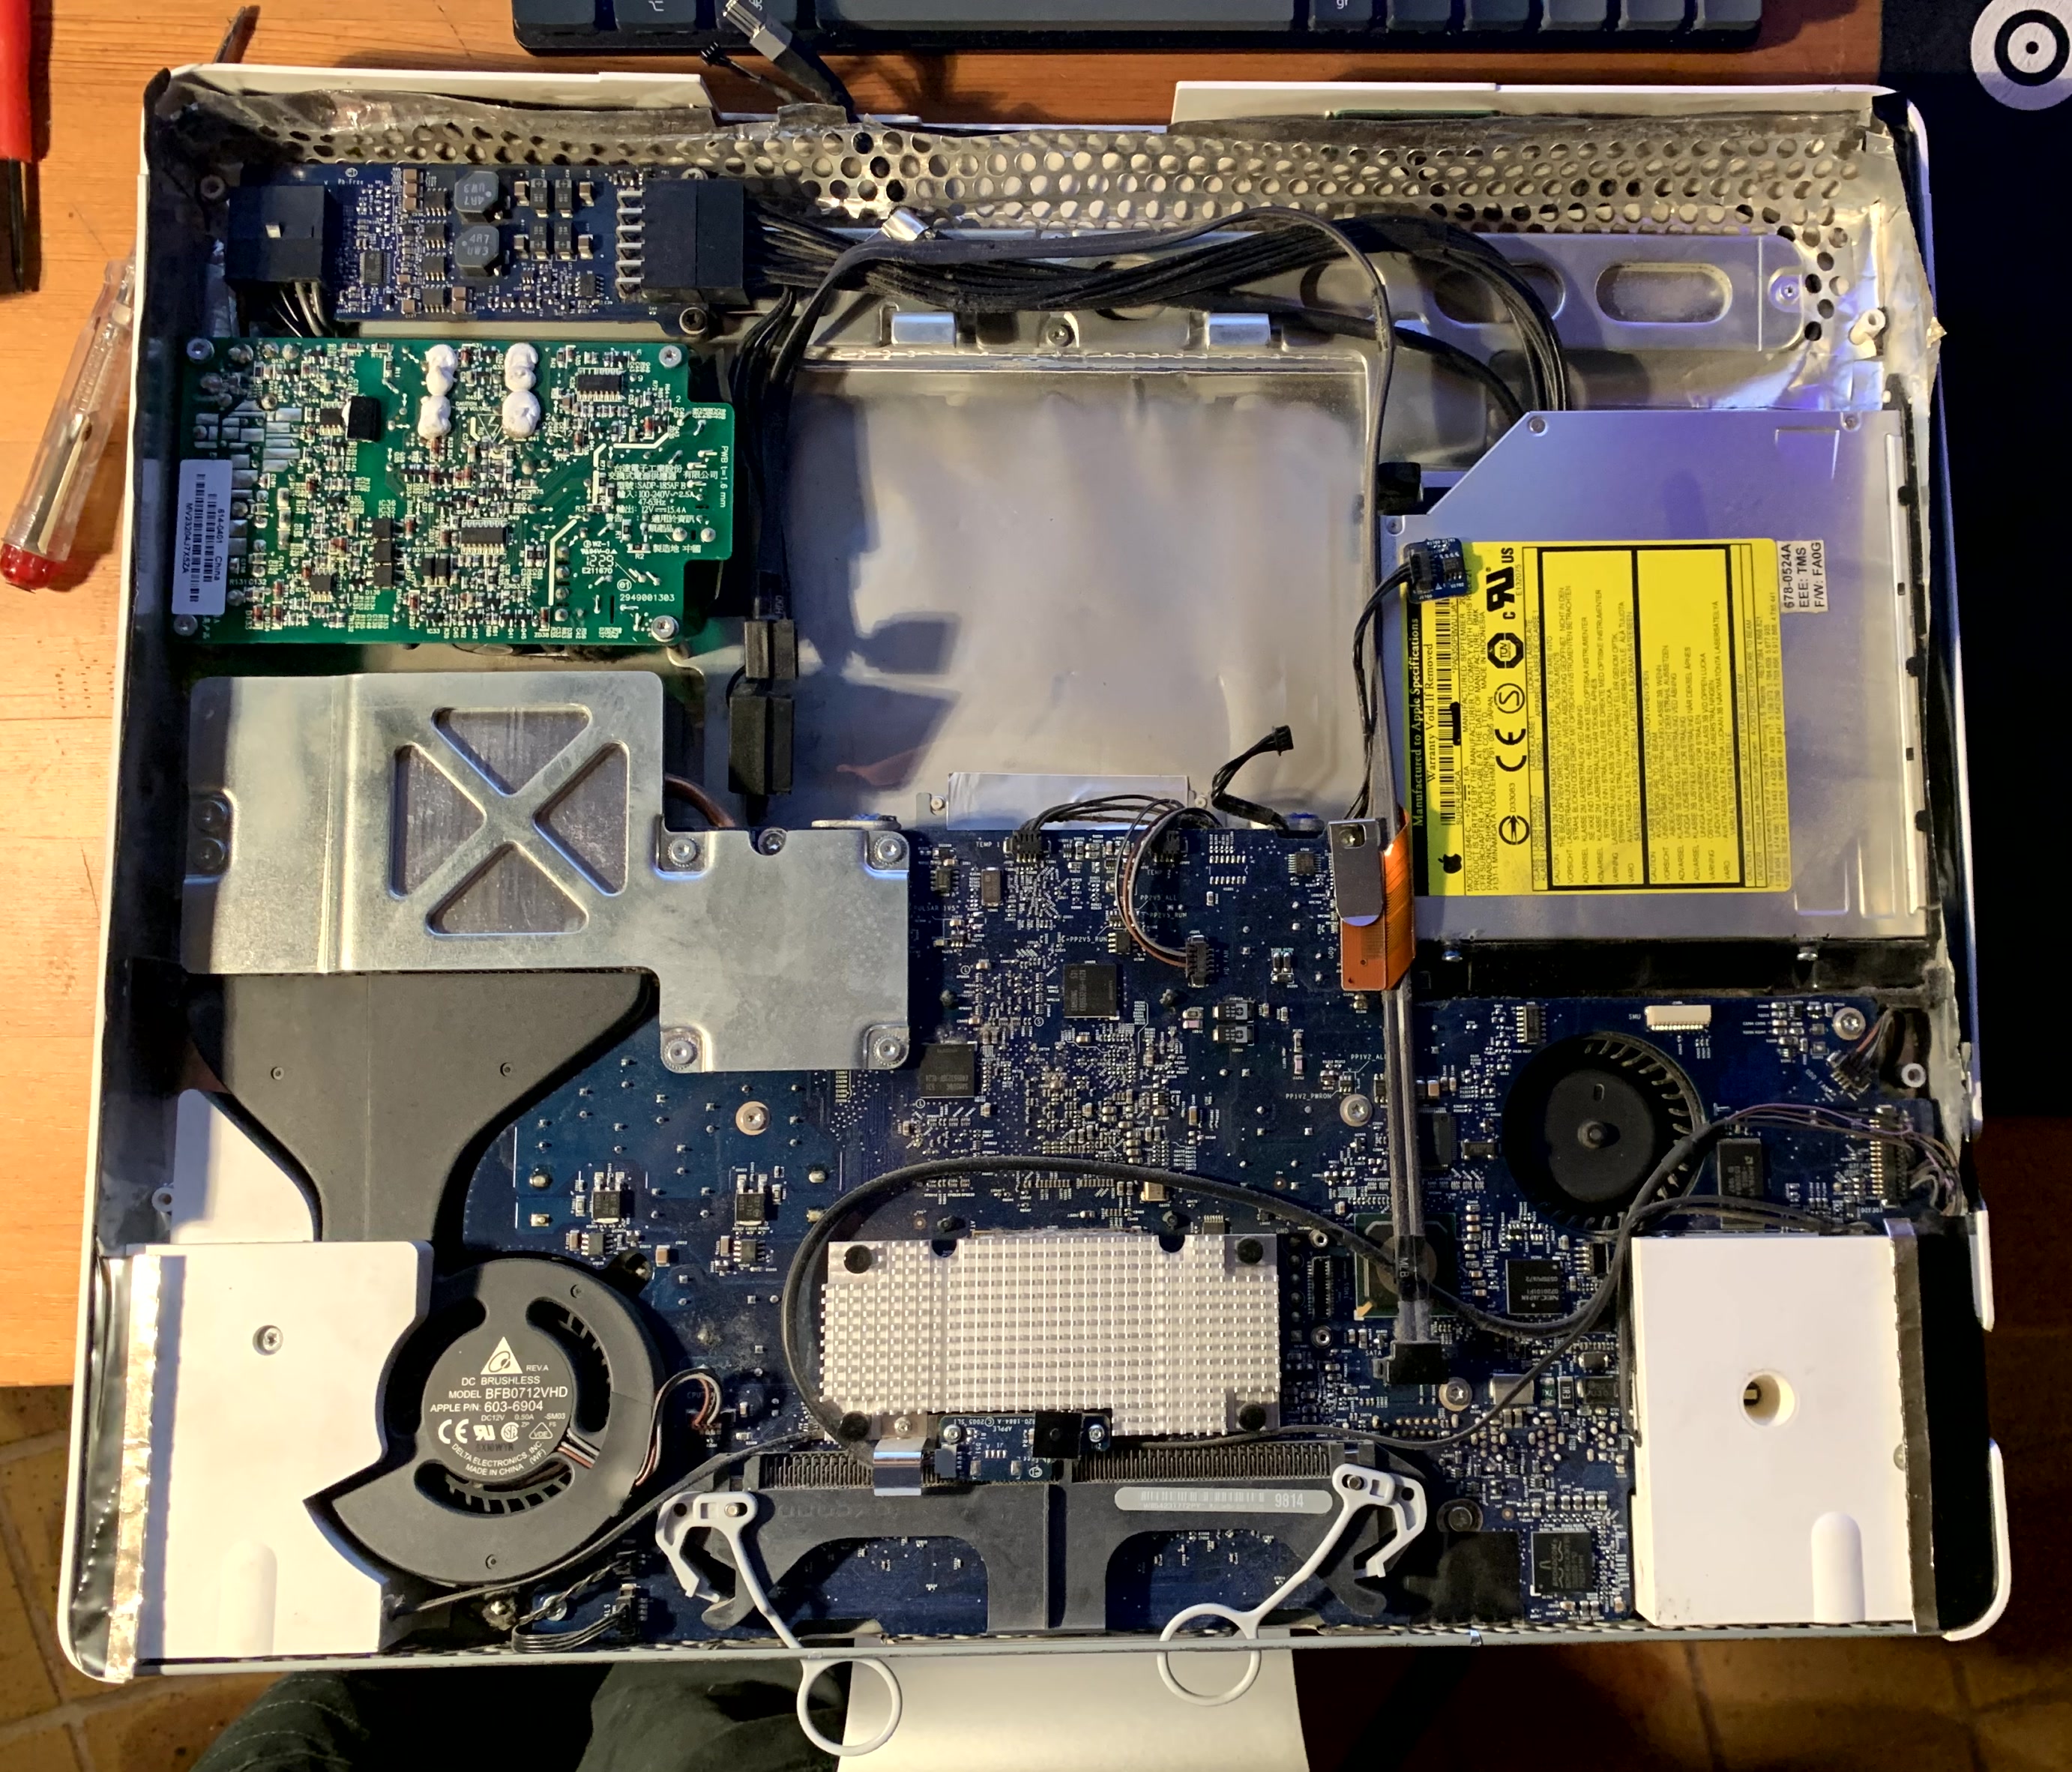
- Open up the iMac: remove the white case, disconnect the iSight camera, and the screen to have access to the hard drive.
- Replace the old hard drive with the new 2.5" SSD and secure it with some good duct tape so it doesn’t move. Be sure to reattach the hard drive’s thermal sensor on the SSD, otherwise the iMac’s fans may run at full speed constantly.
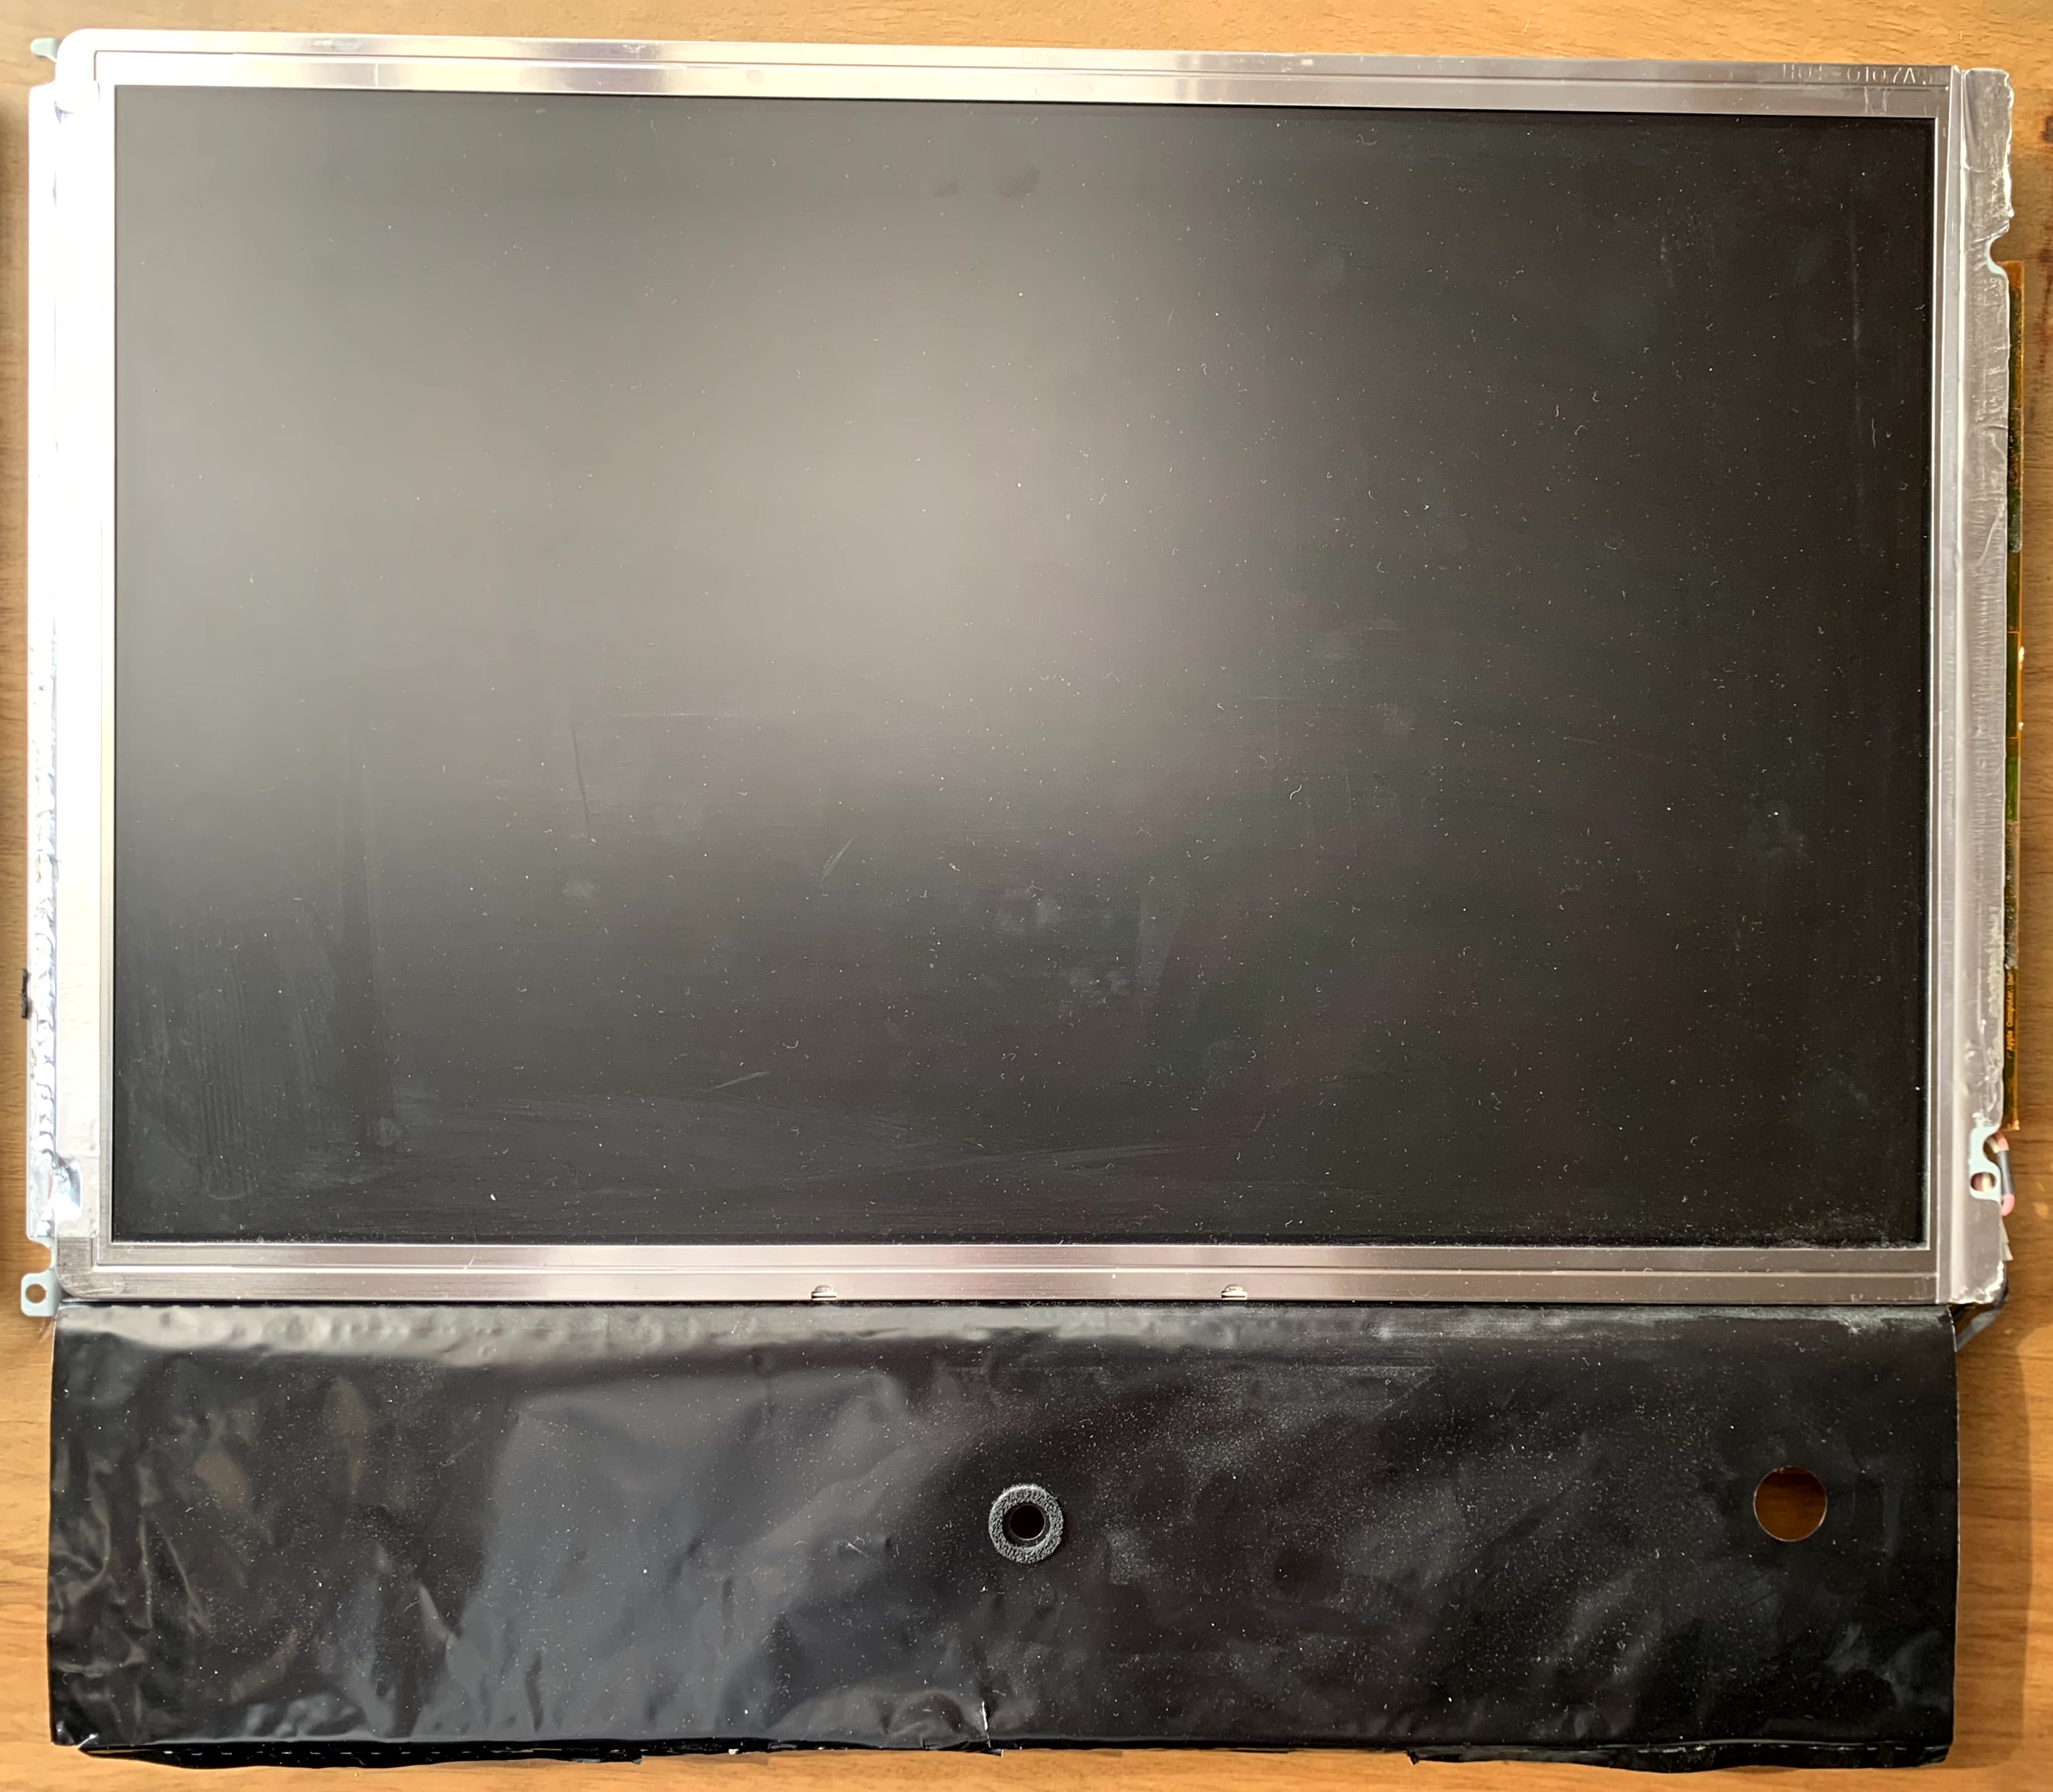
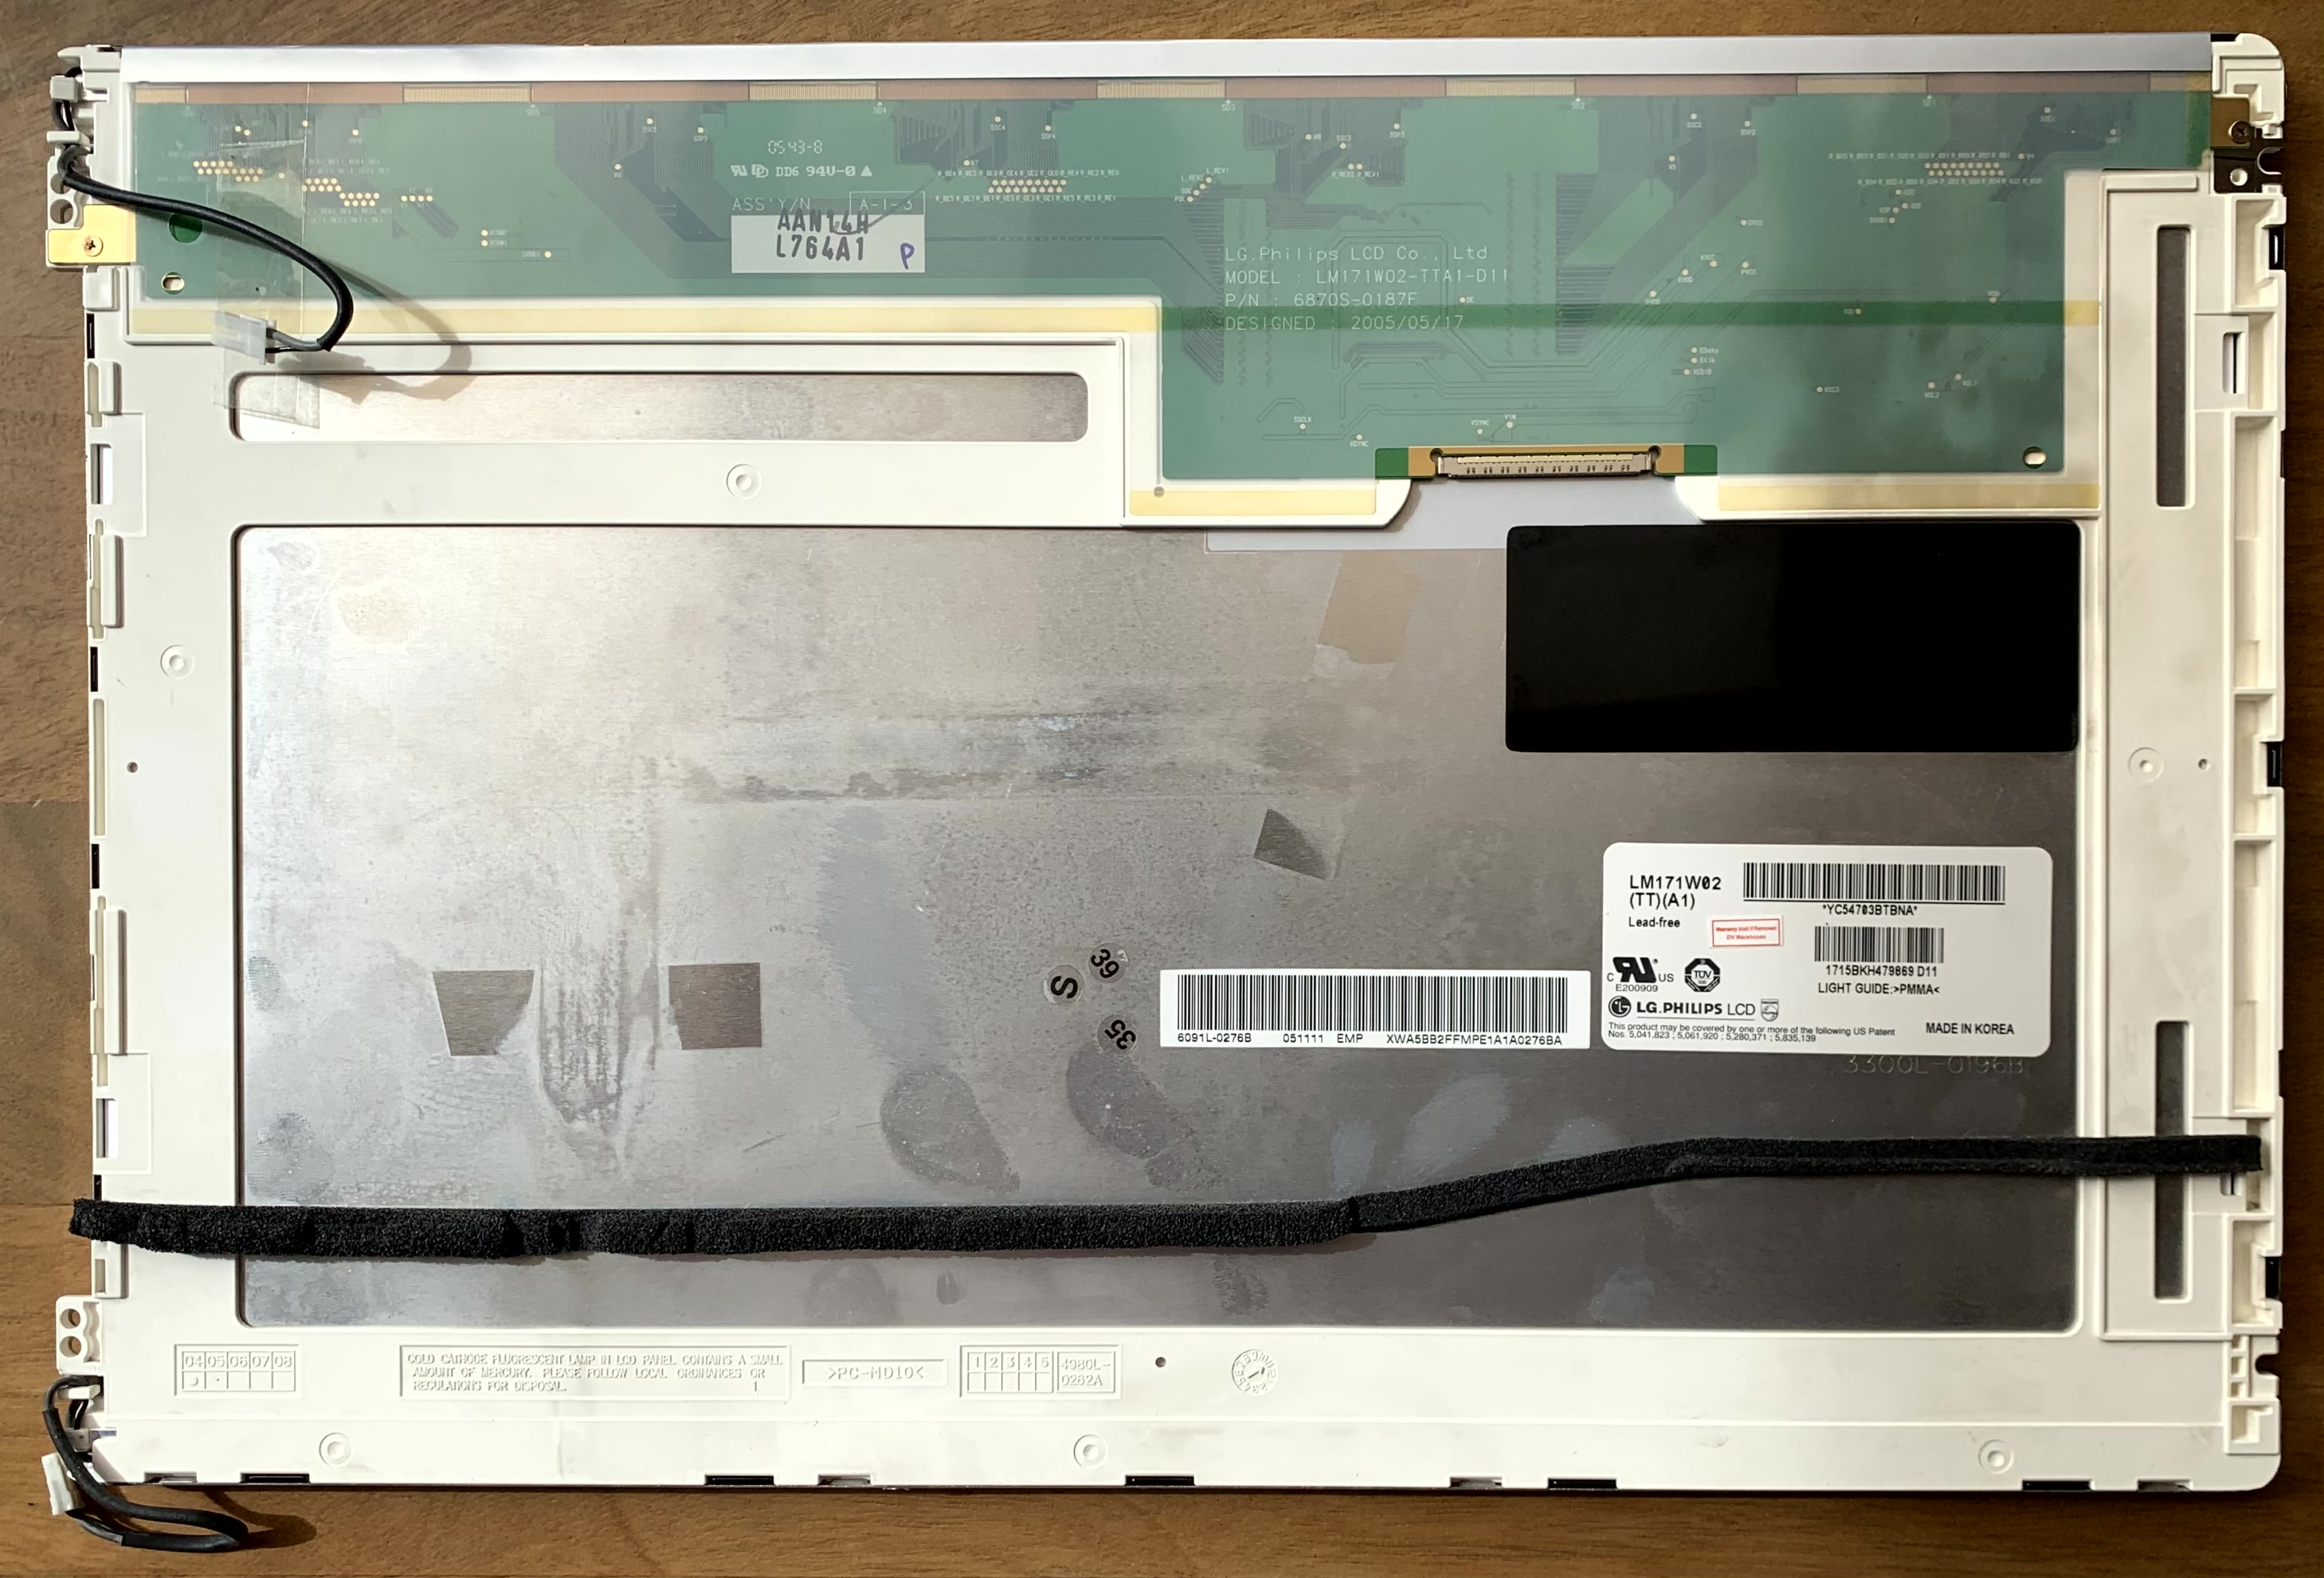
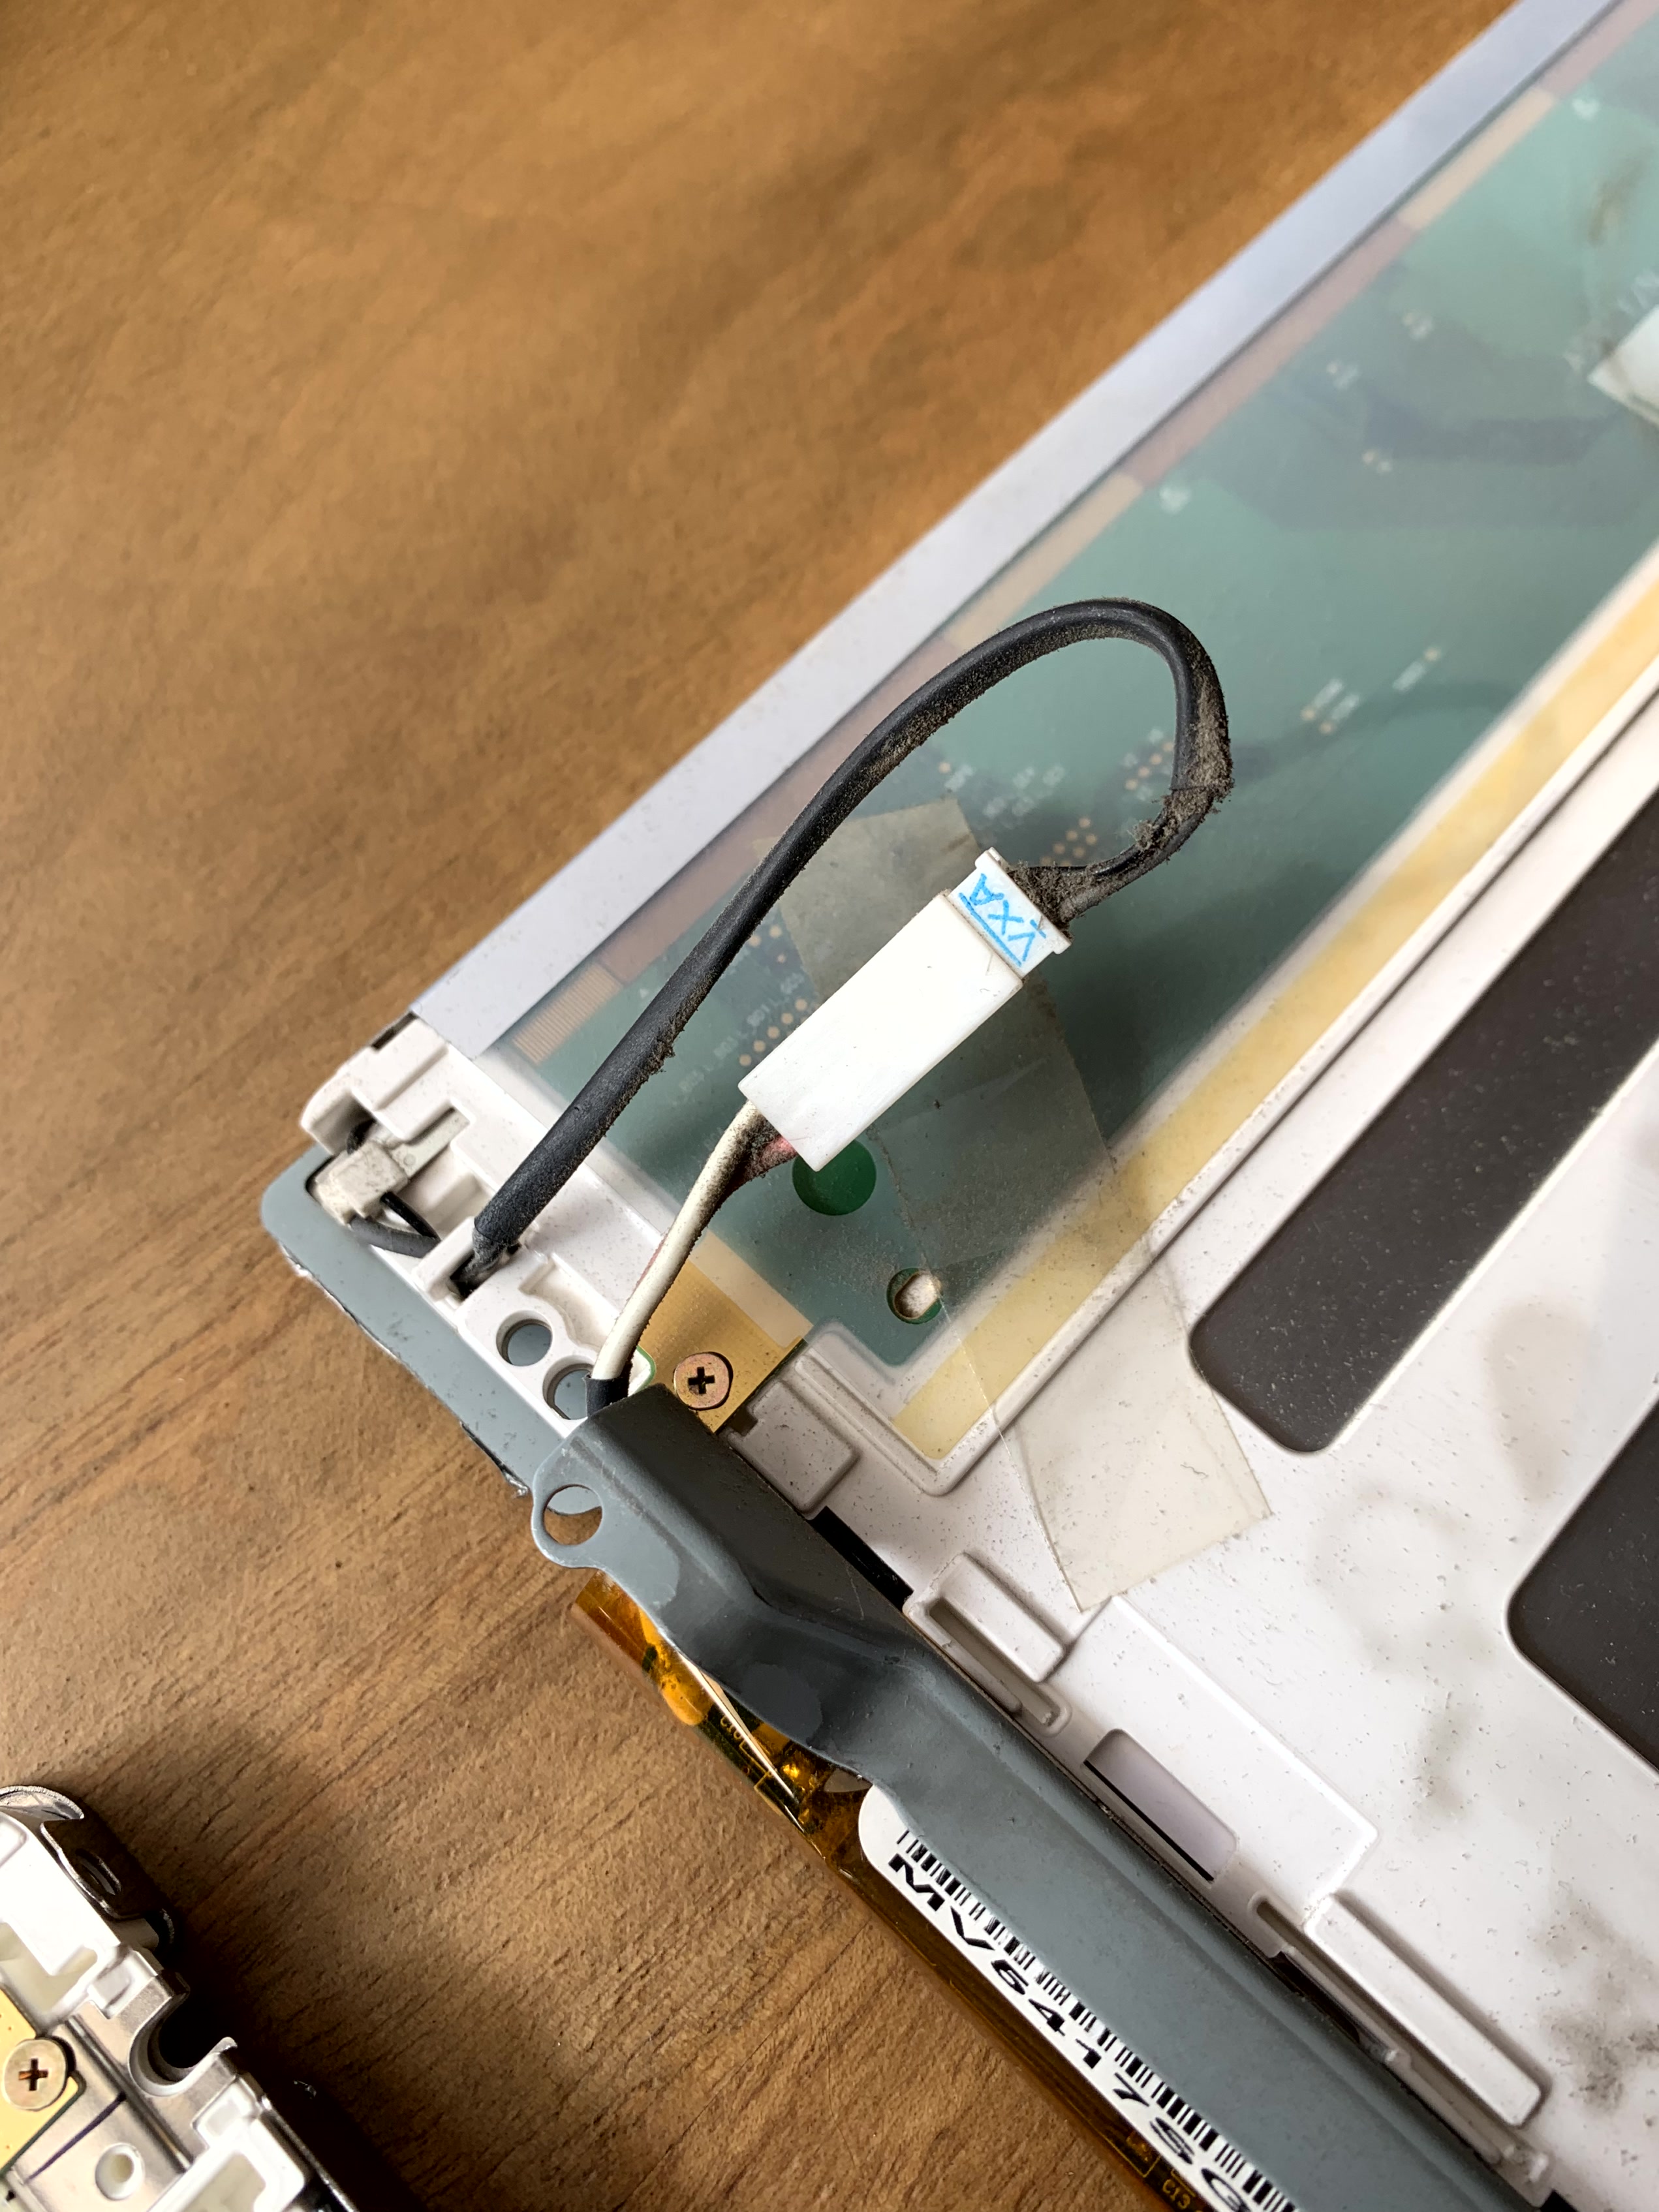
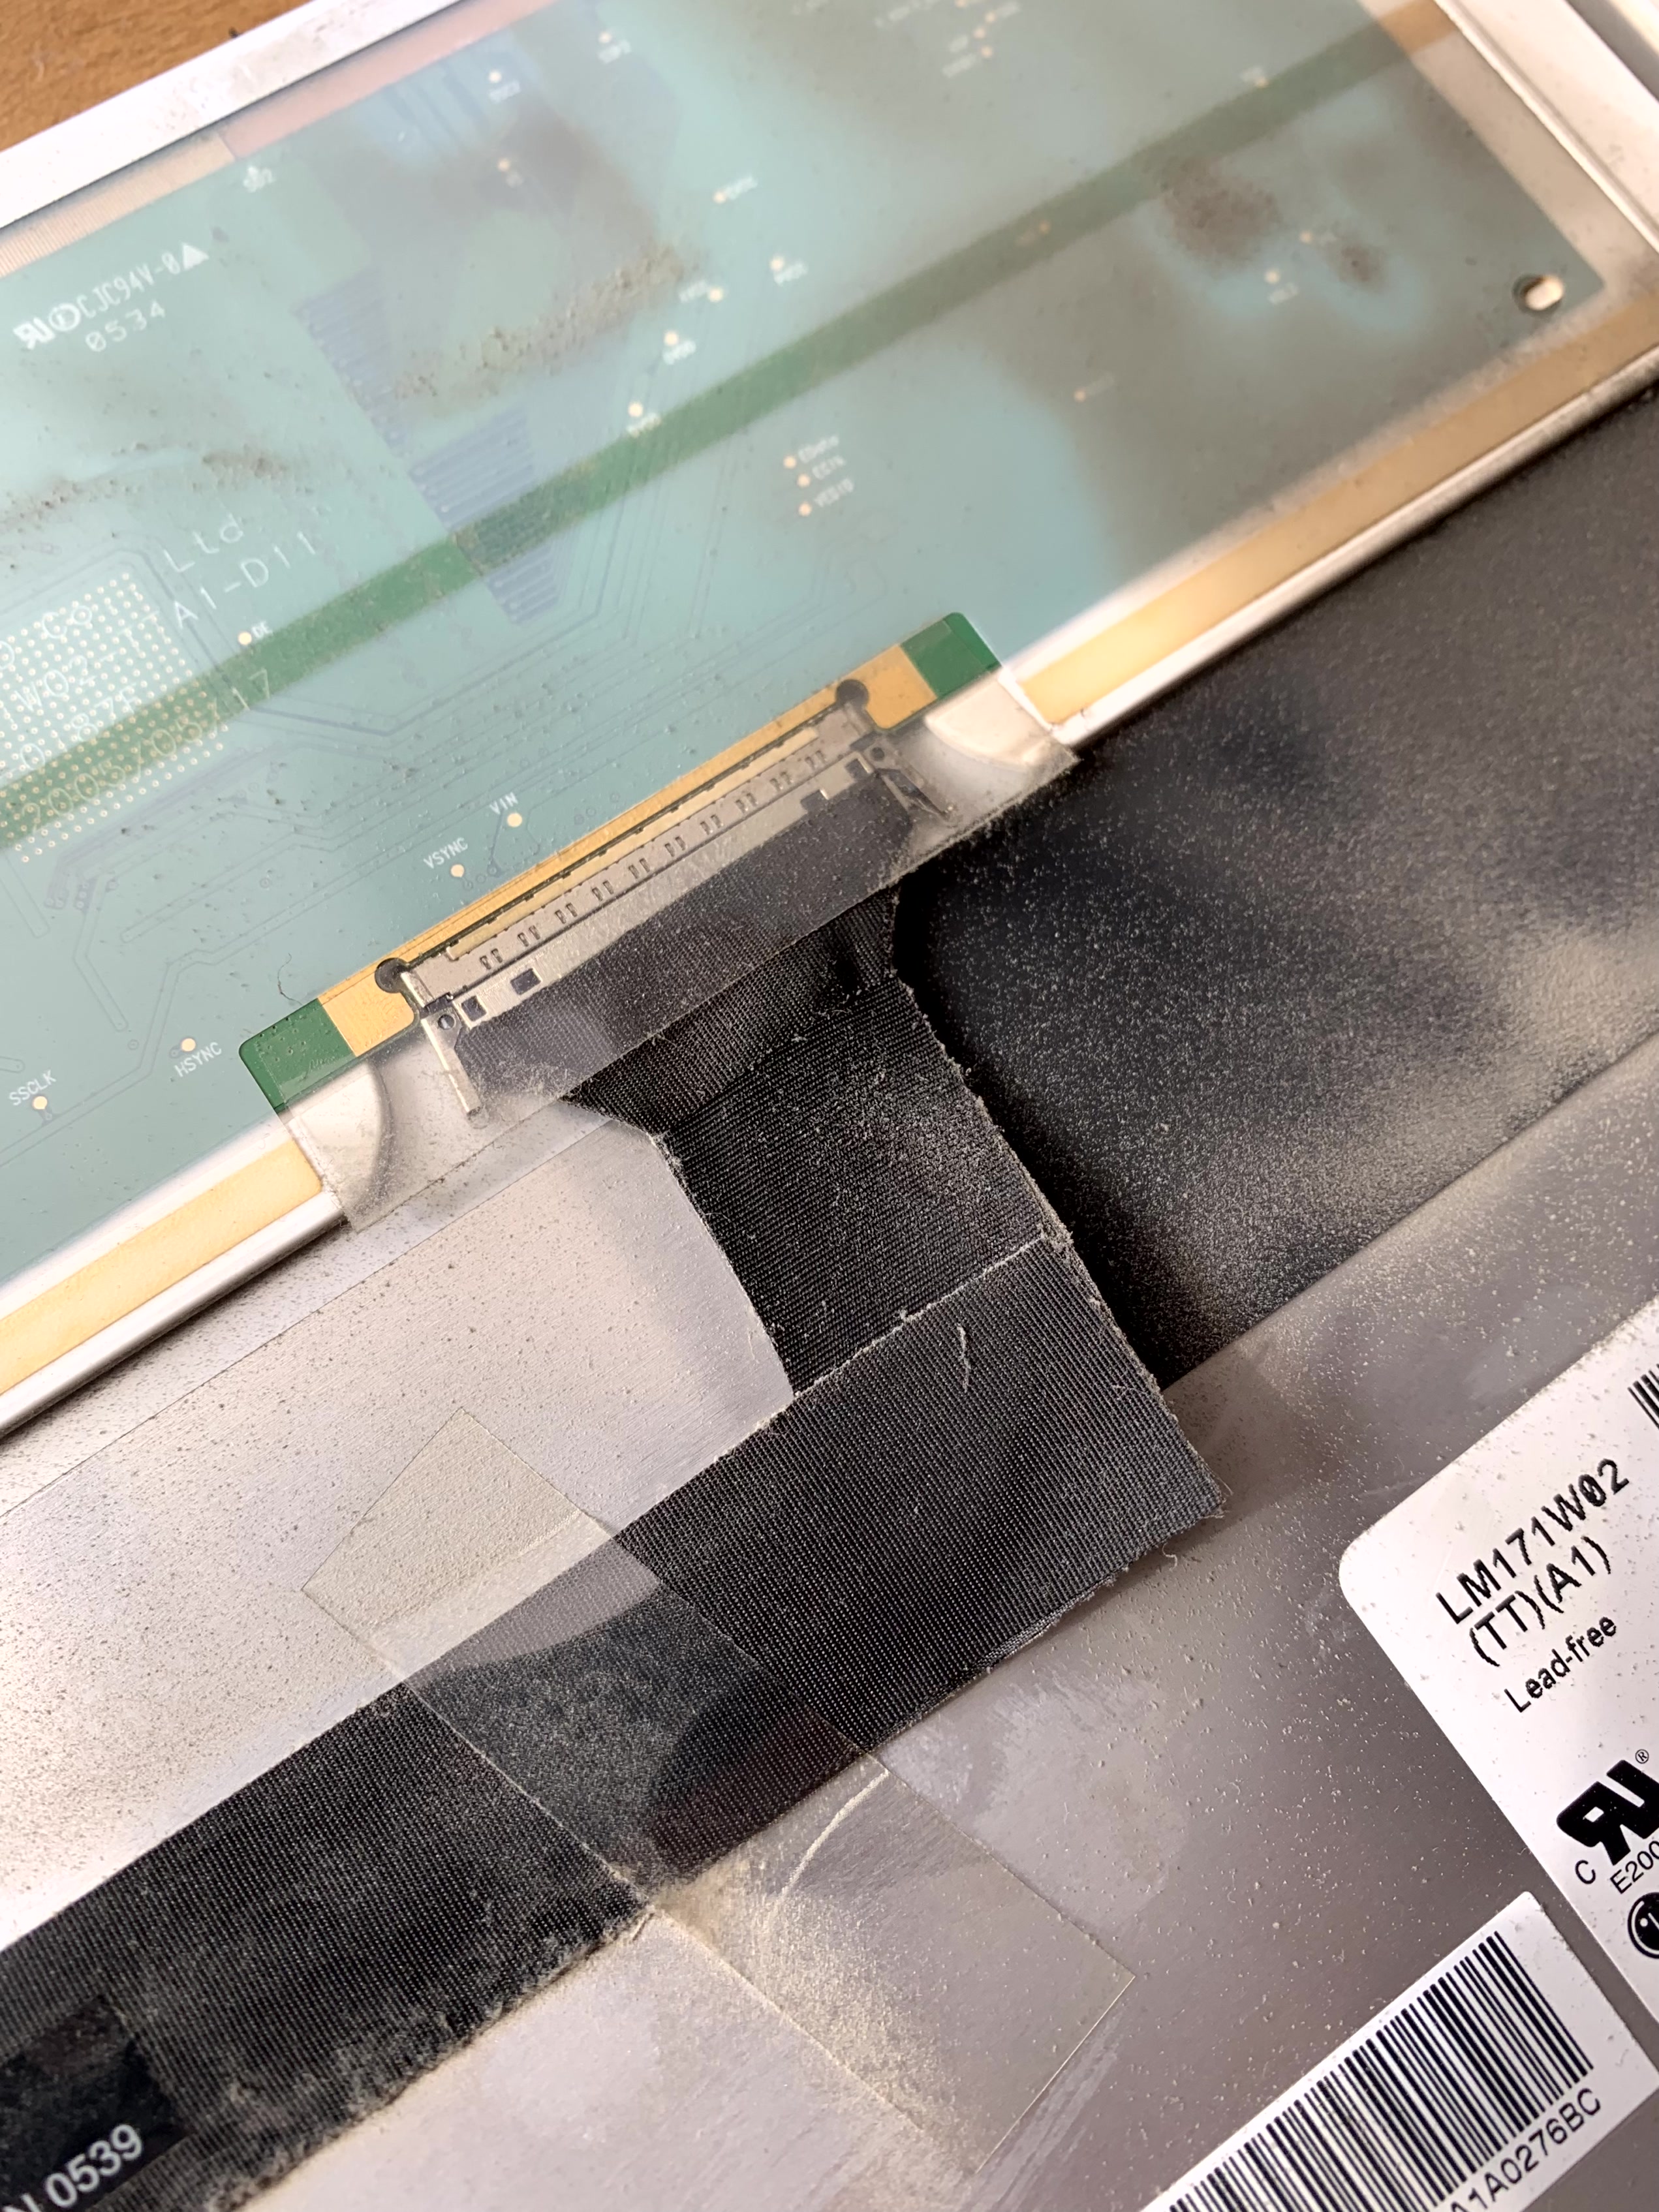
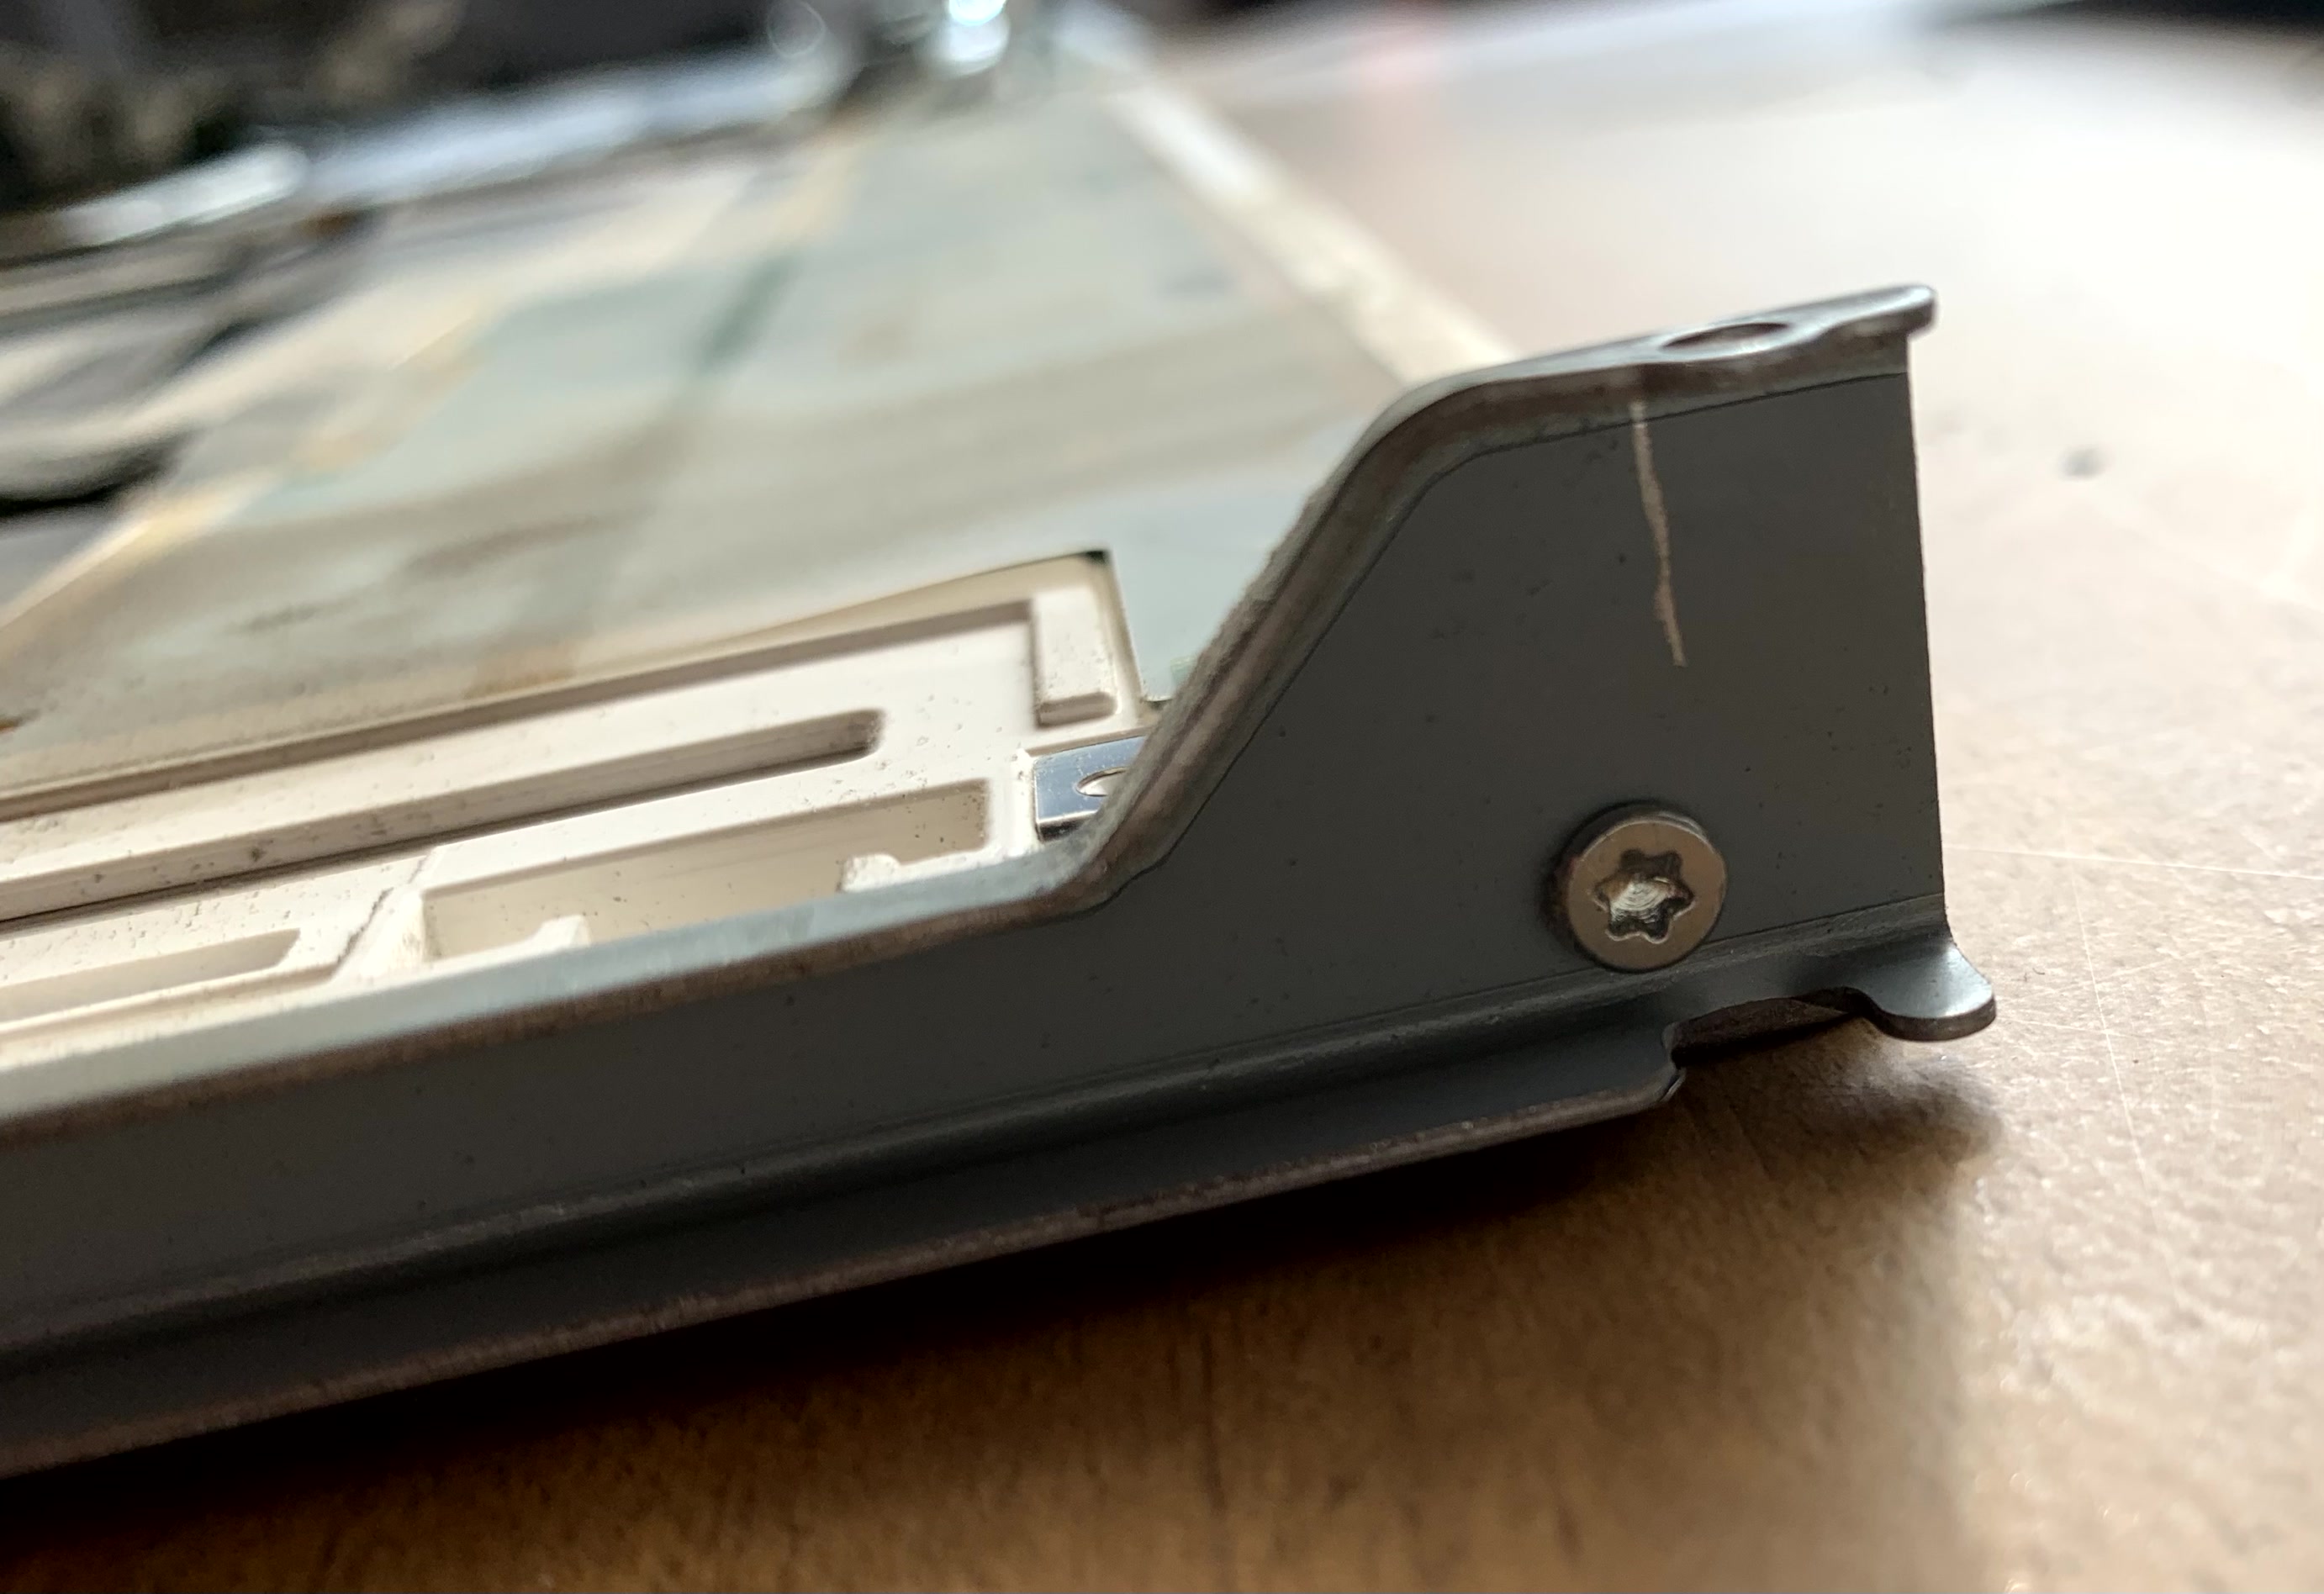
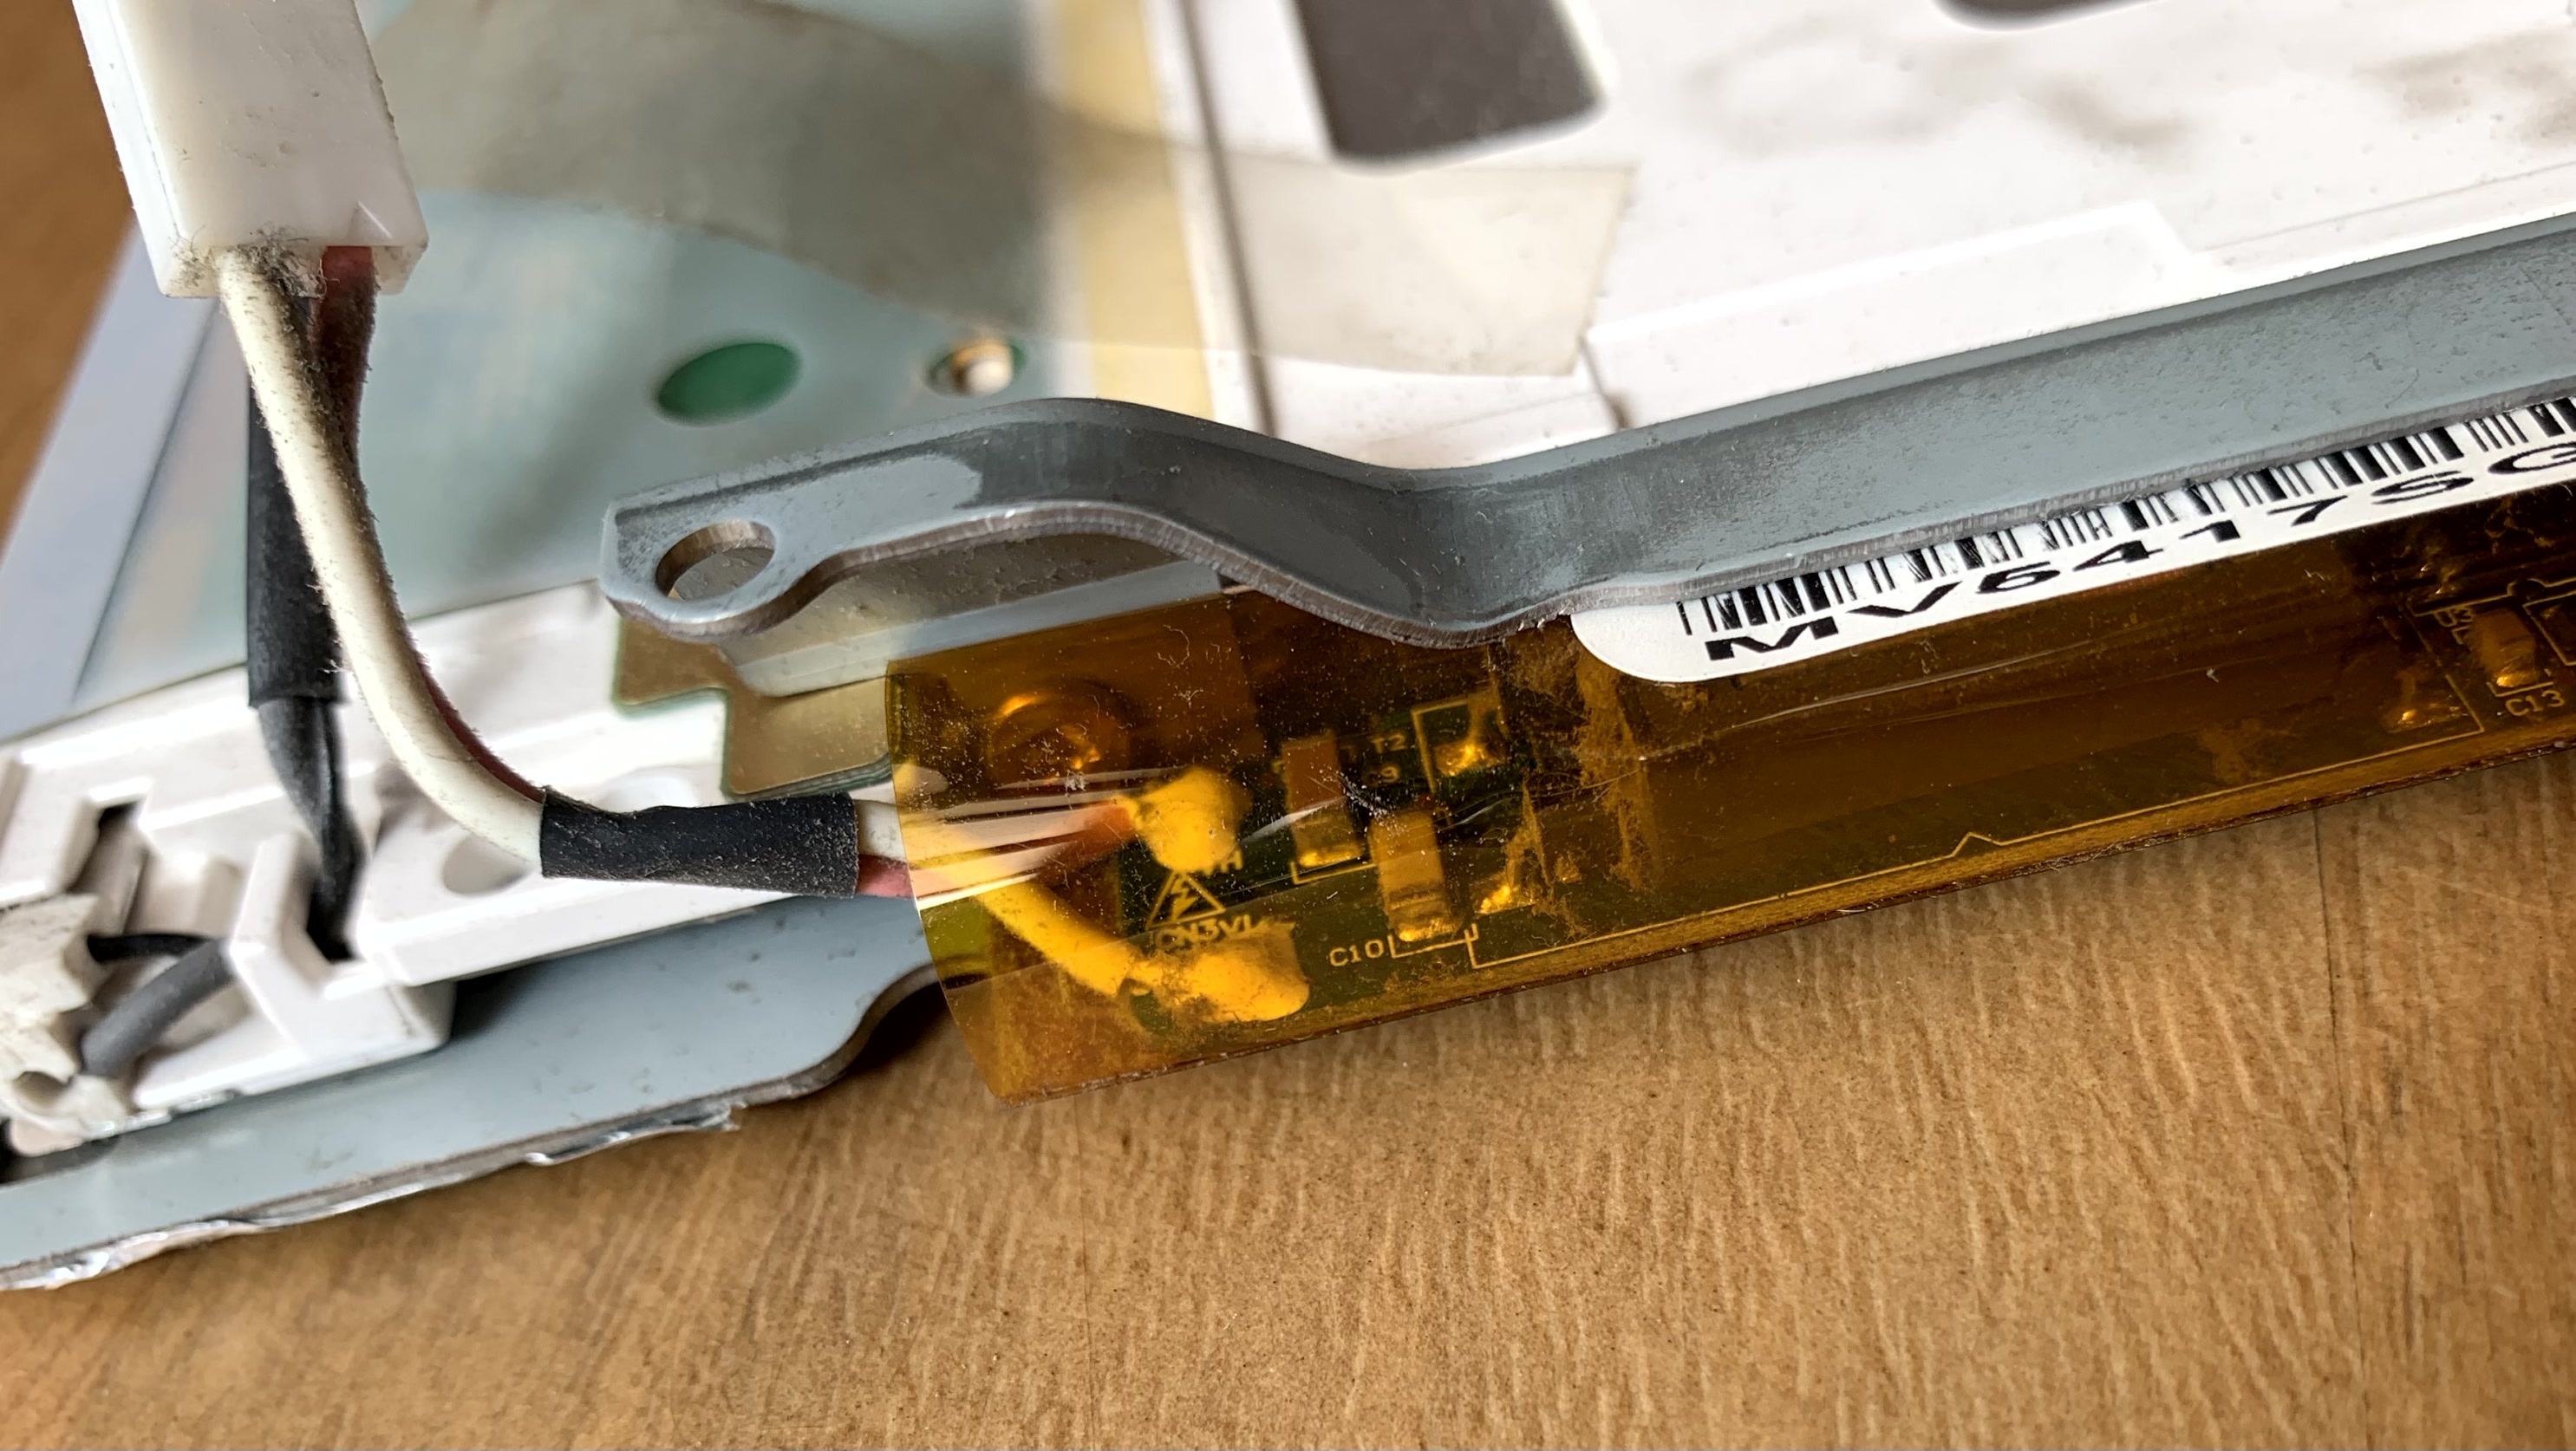
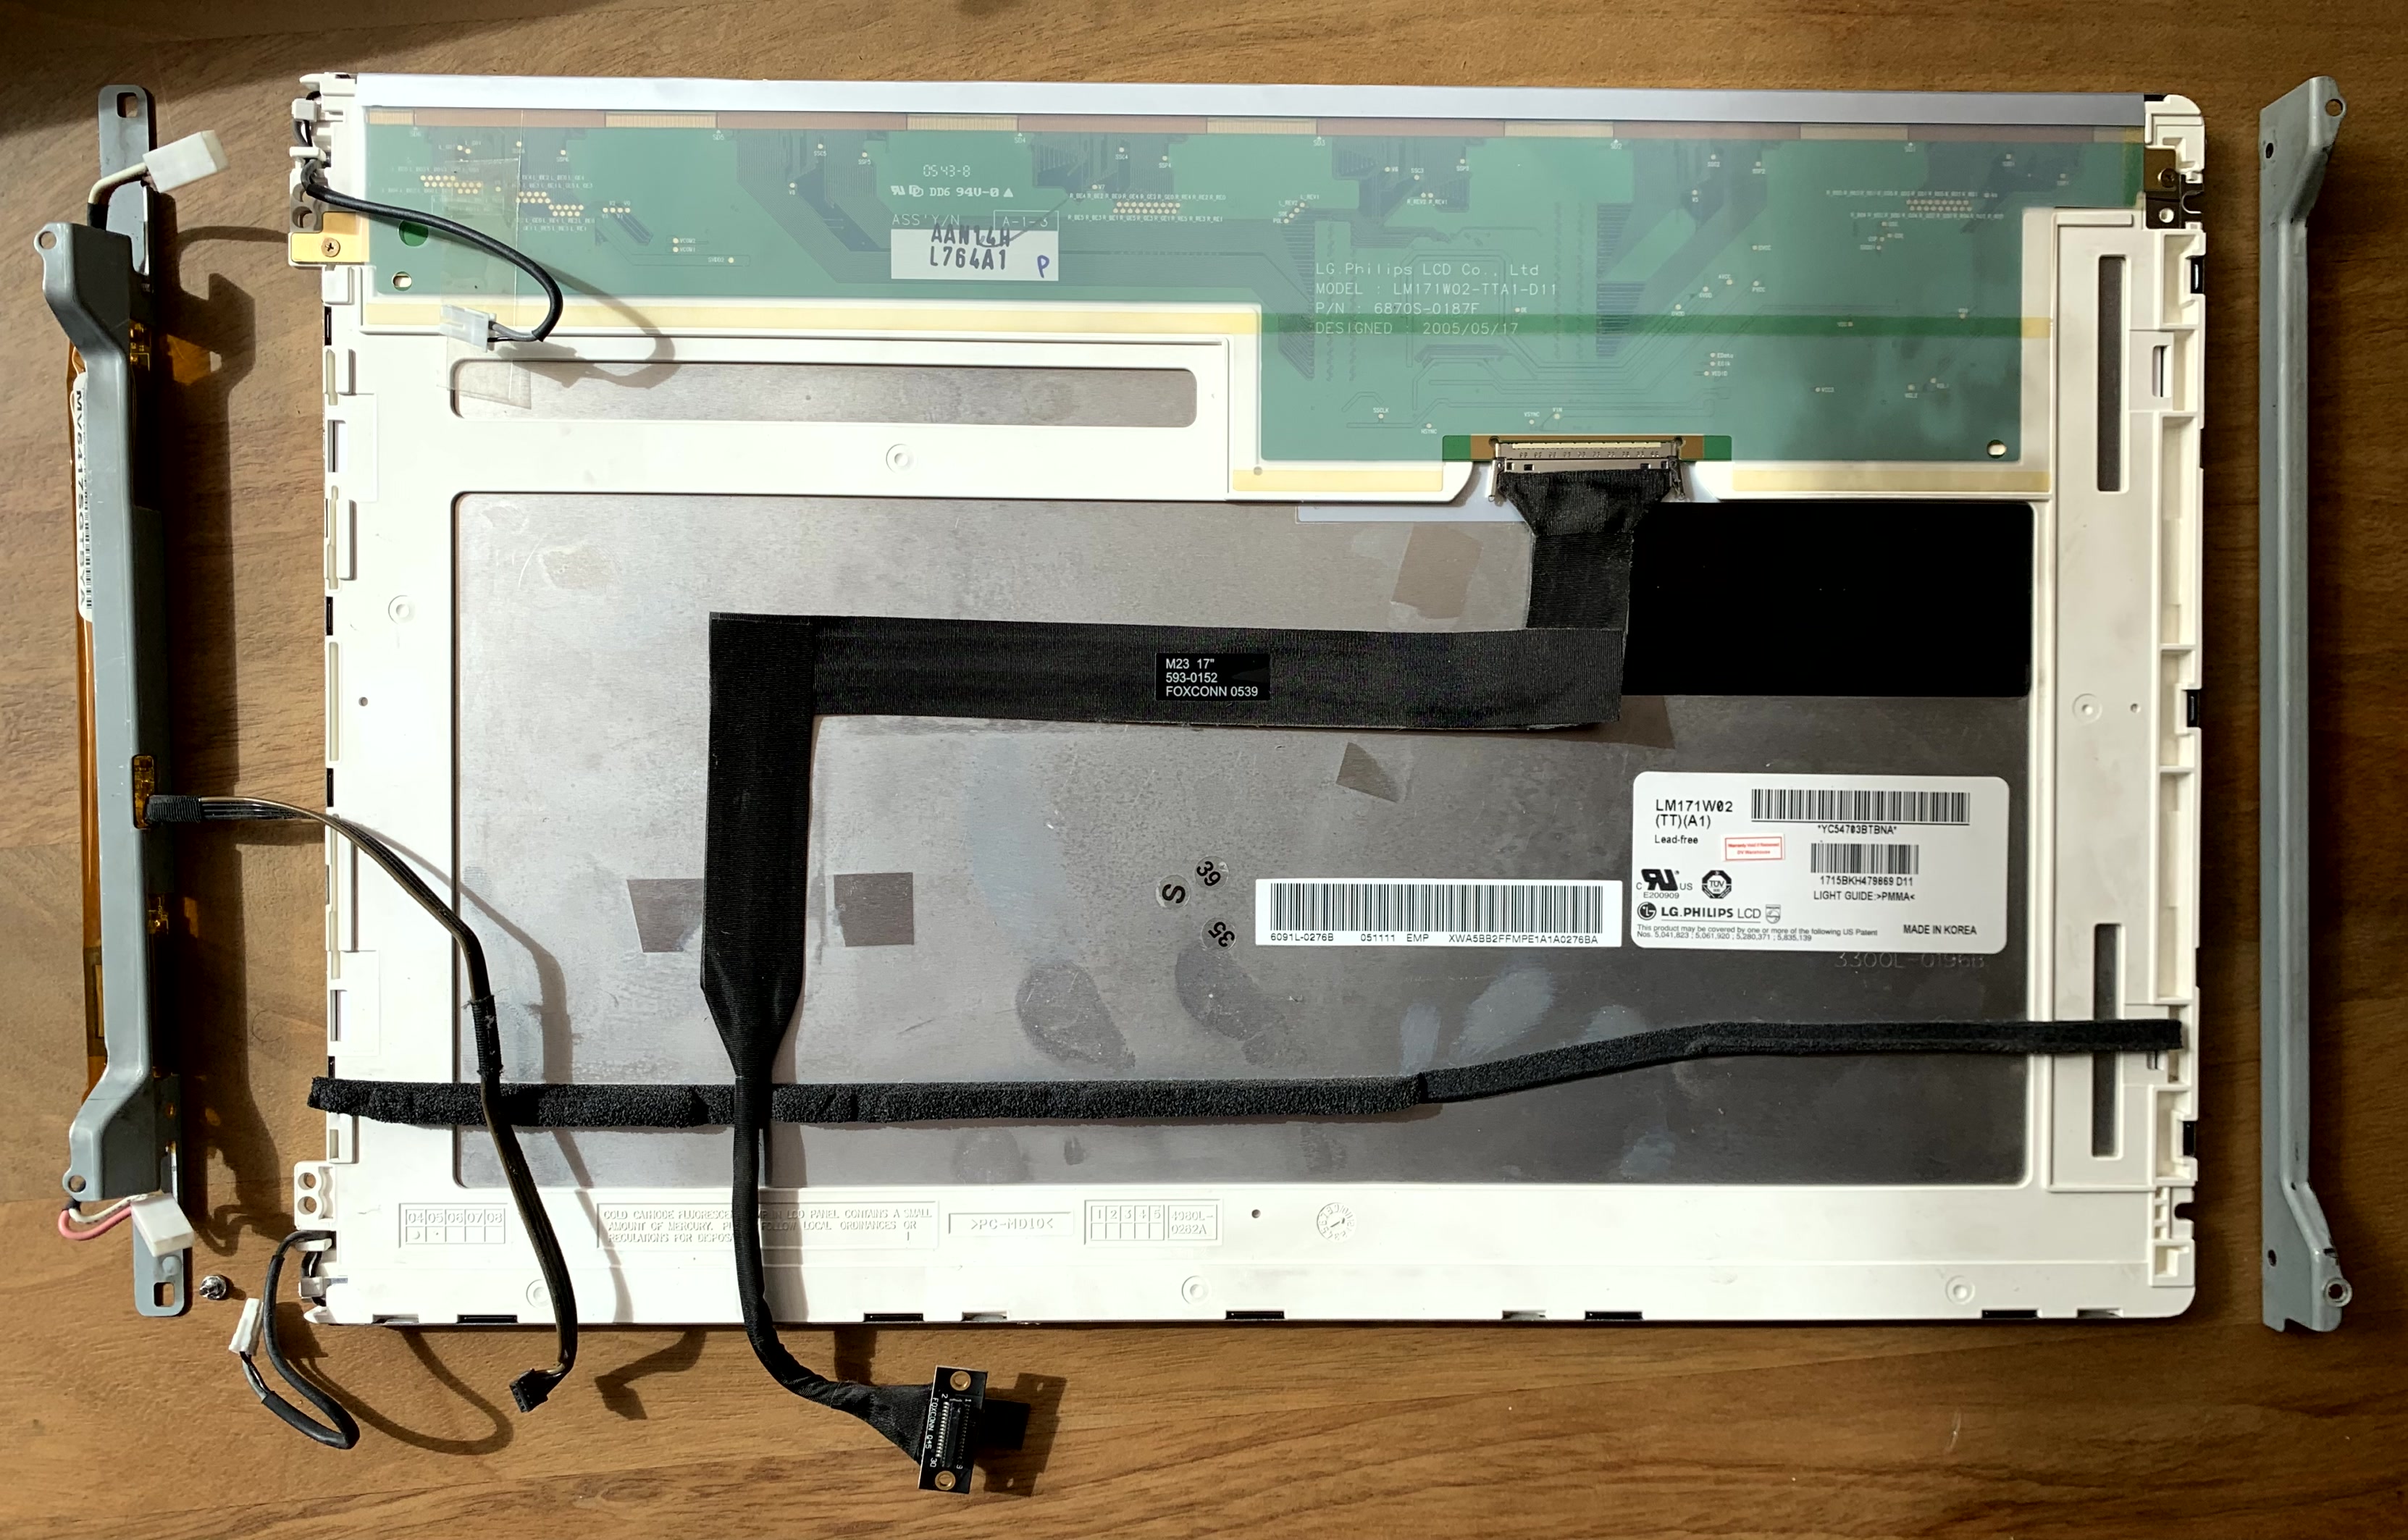
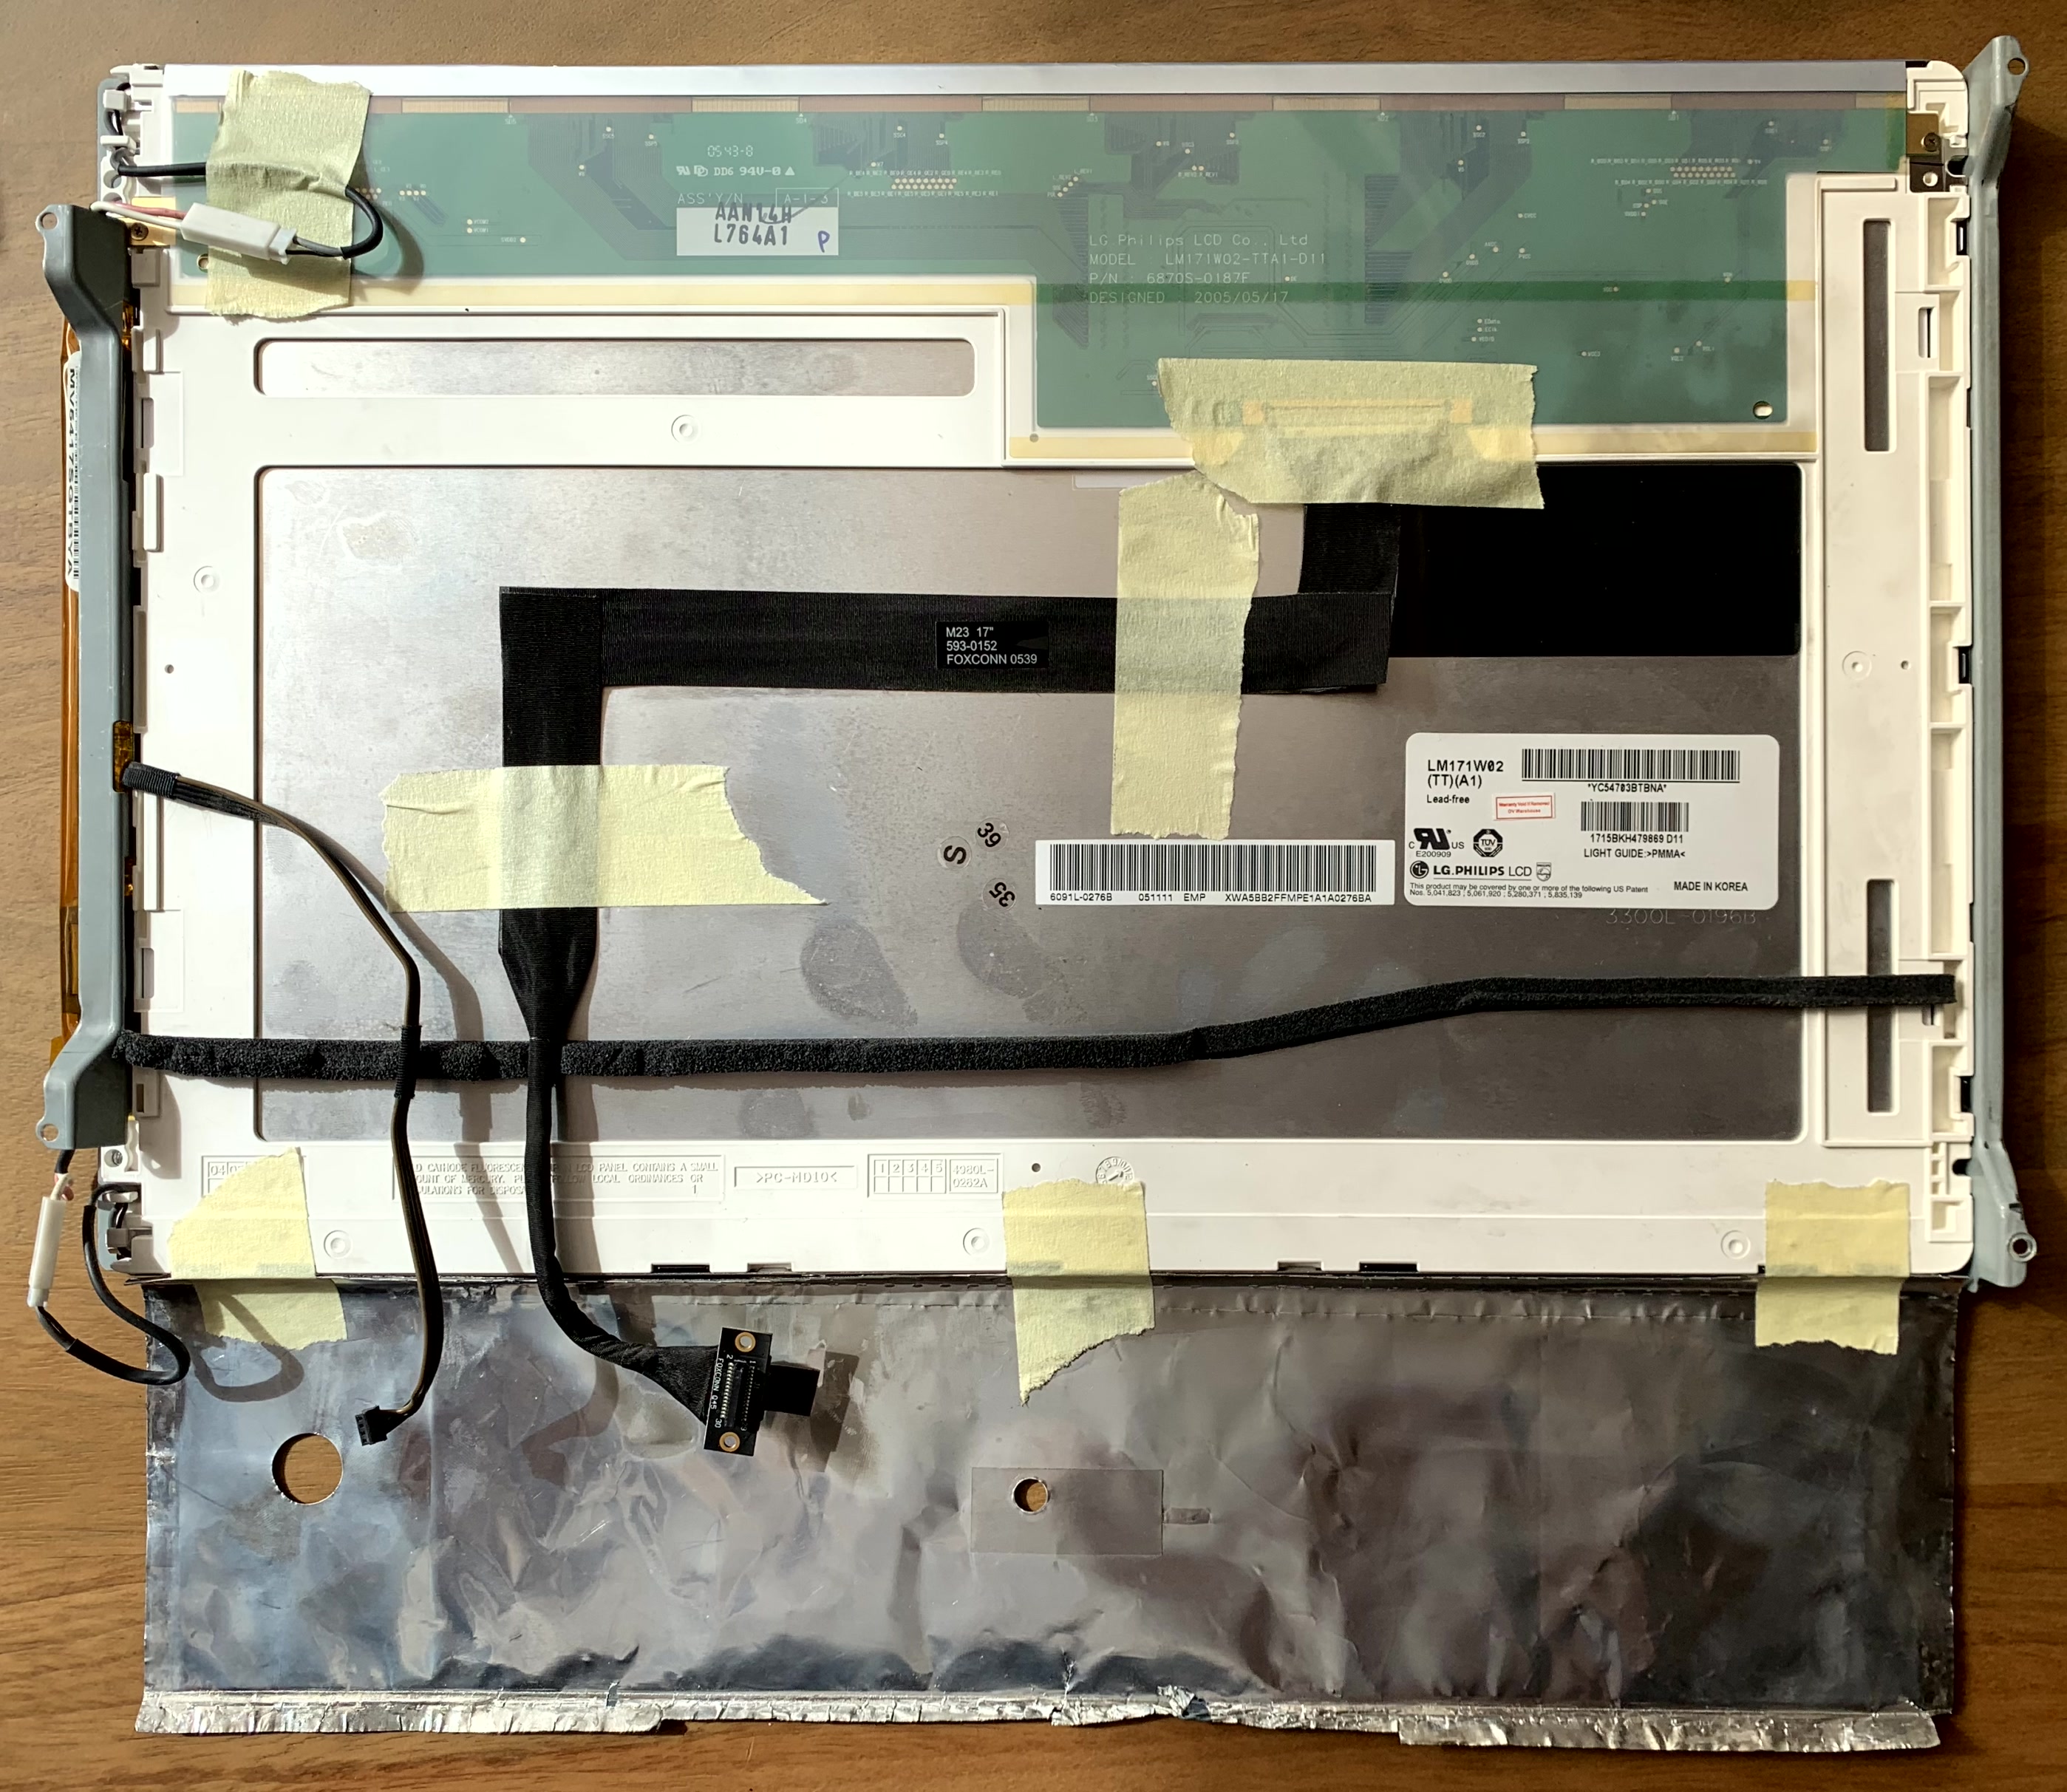
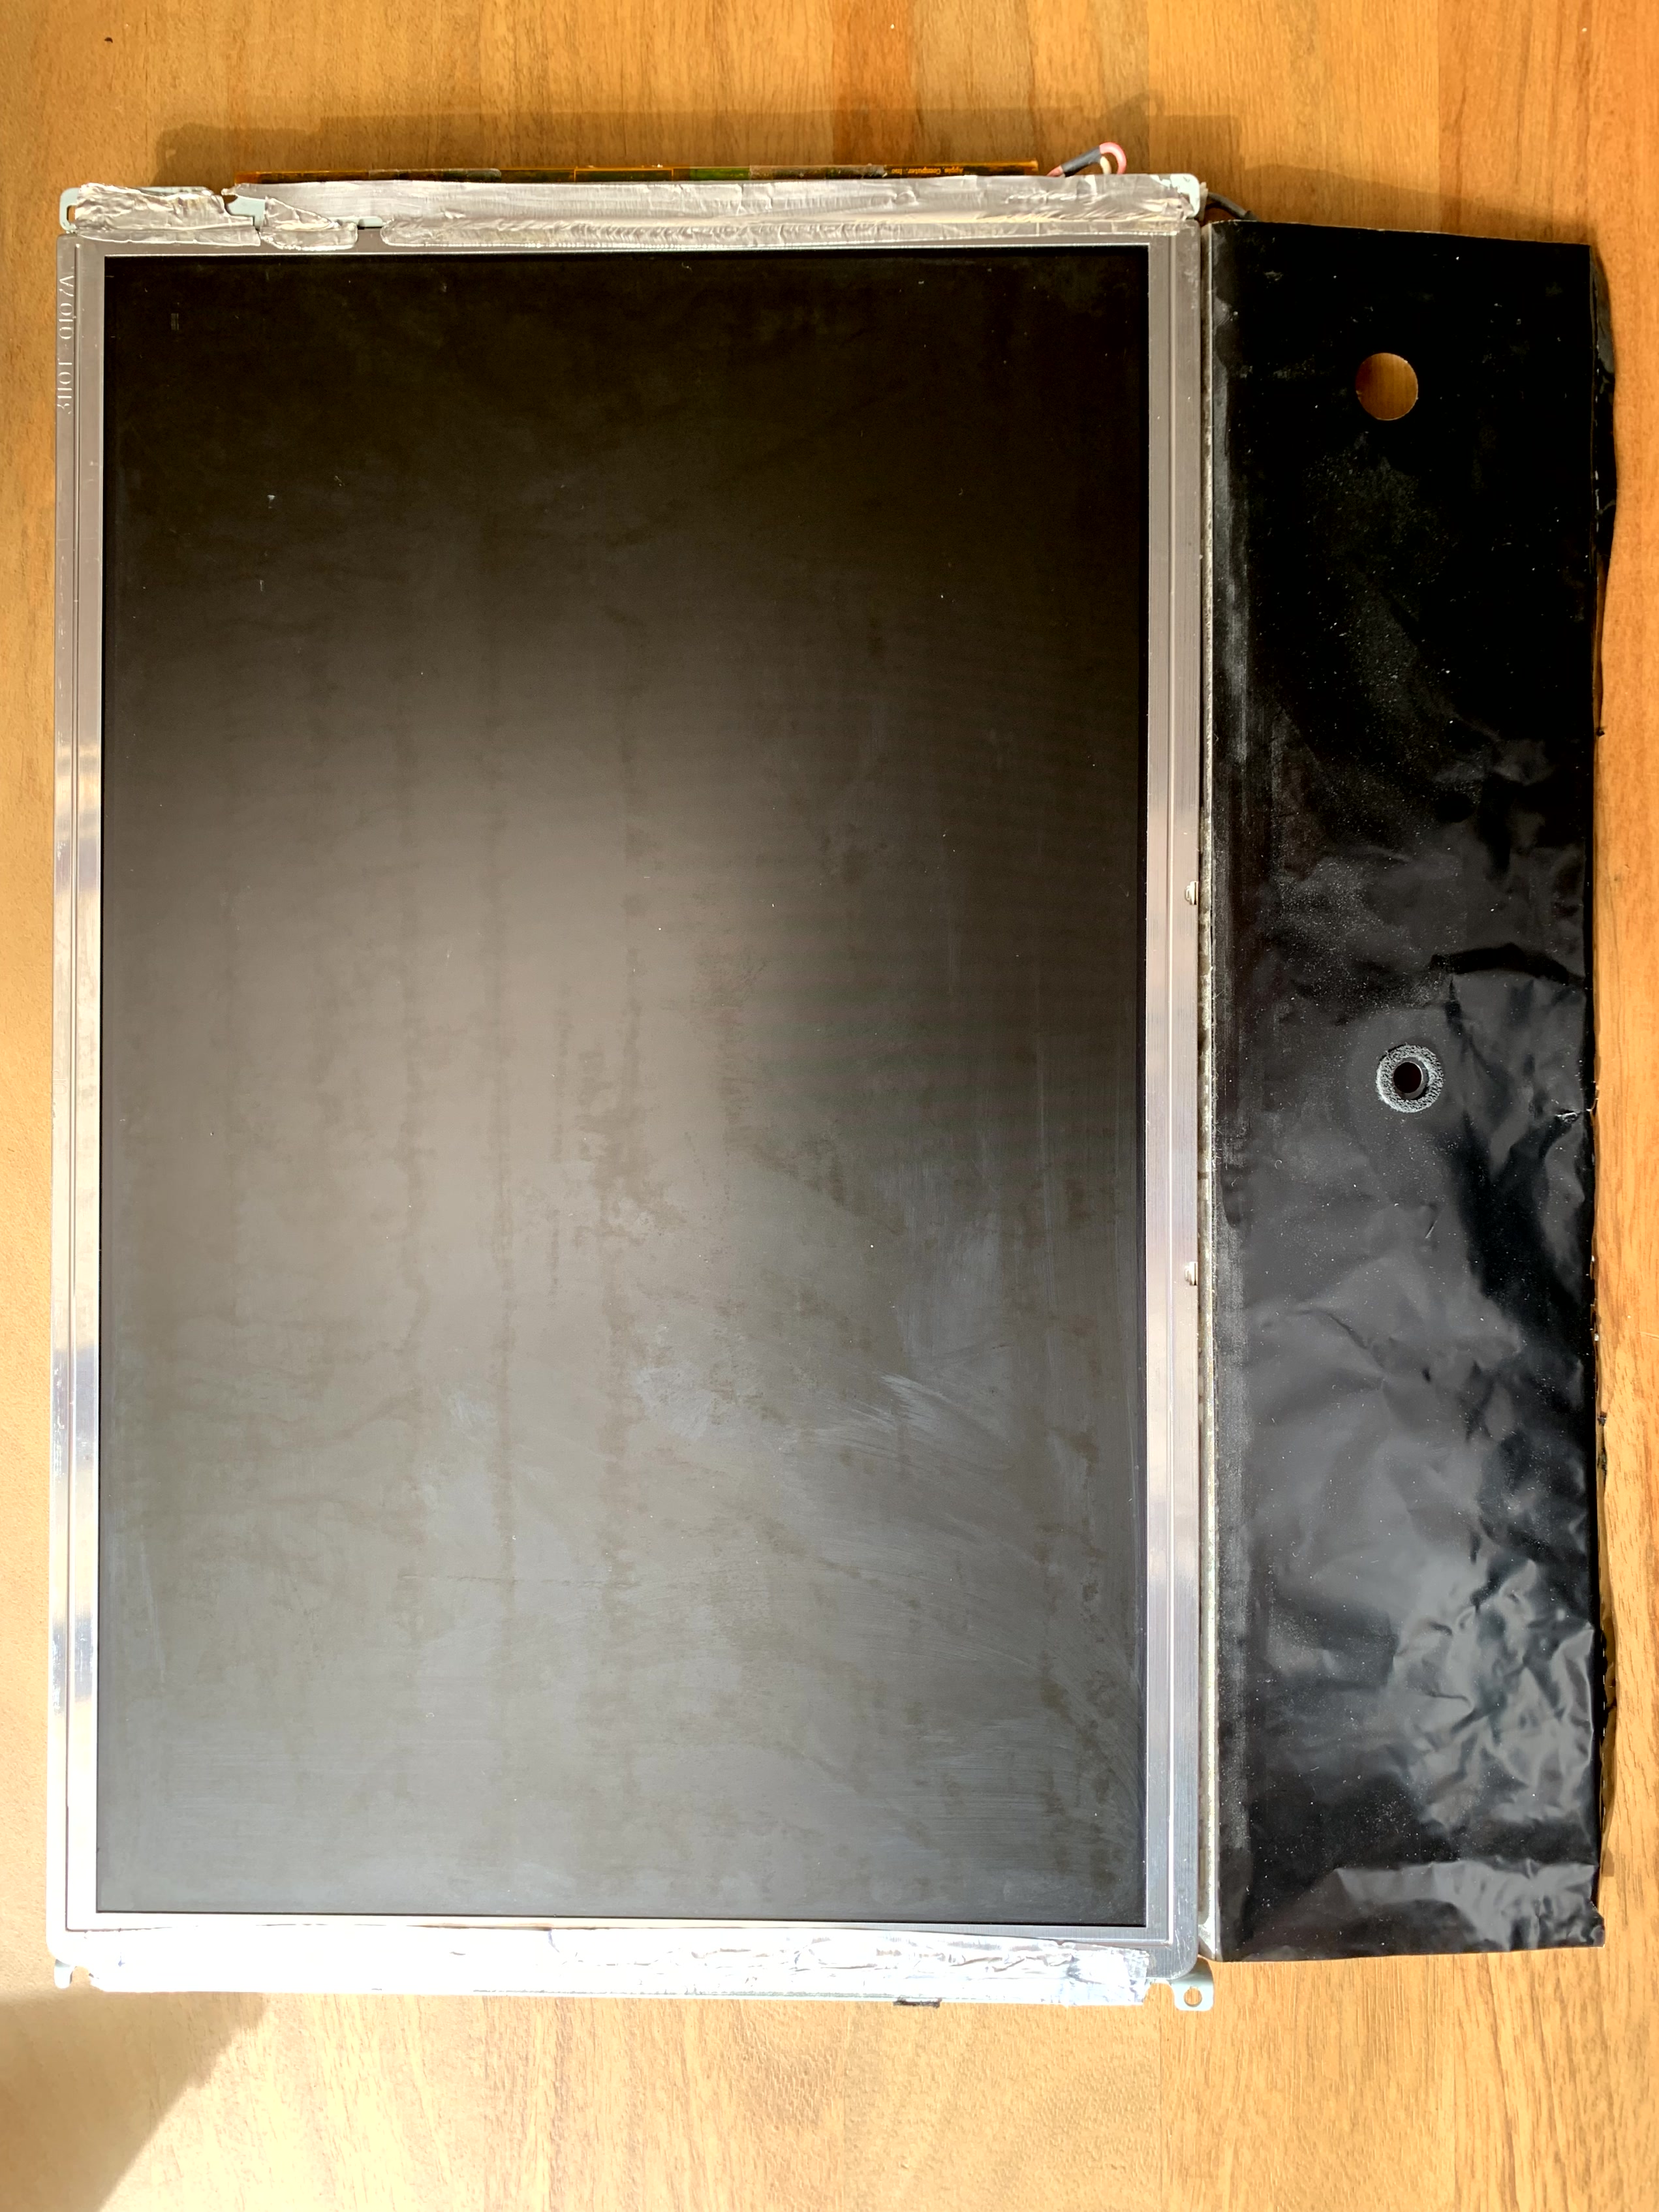
- This step isn’t shown in the iFixit guide: you’ll need to disassemble the “structure” around the old screen and put it on the new screen, so that the new screen can be screwed back into the iMac (see pictures below).
- Reassemble the iMac.
- Format the SSD and install Mac OS X. Important: see next section A note on software.
- Enjoy!
There are some good YouTube videos showing how to disassemble and reassemble the iMac. Two of them below:
Pictures


A note on software
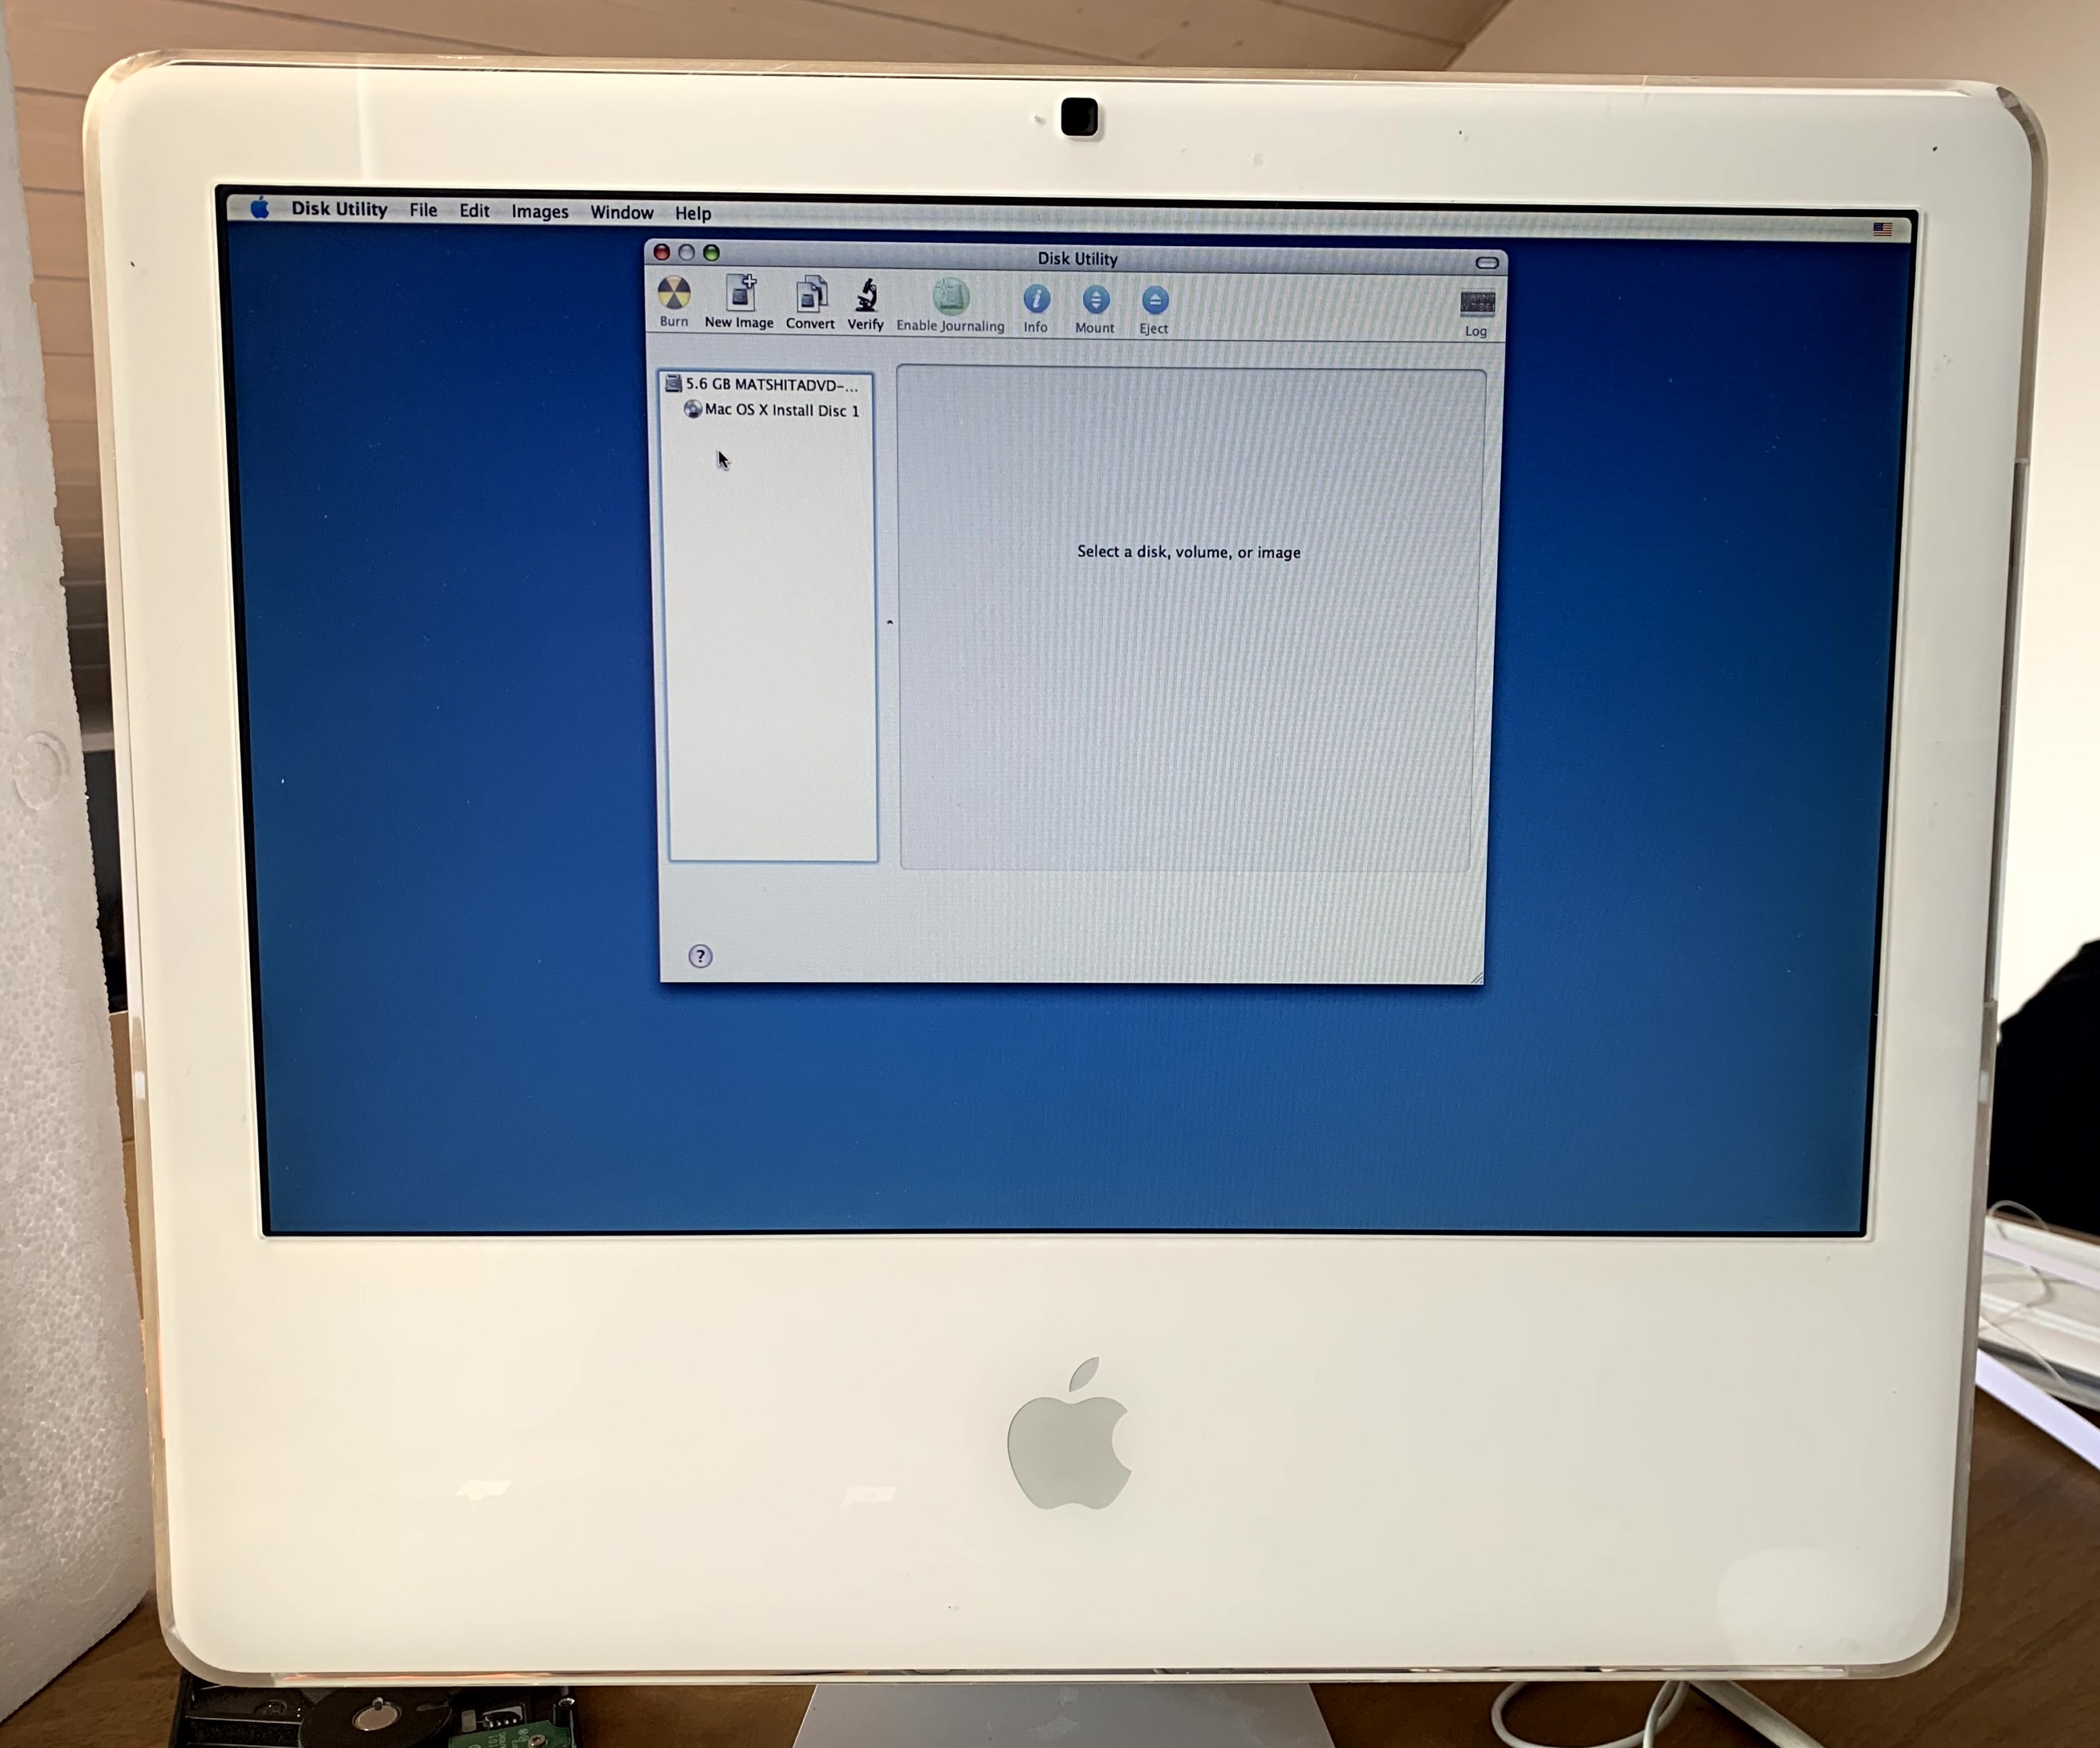
Disk Utility
One important thing to keep in mind before formatting the new SSD: Disk Utility in Tiger doesn’t support creating additional partitions without erasing the existing one.
So if you plan to first install Tiger and then add a second partition for Leopard, make sure to create both from the start — unless you have a Leopard install disc, in which case you’ll be able to modify the partition table later without wiping the drive.
HTTPS browser for Tiger
Safari in Tiger doesn’t support modern TLS versions, so most HTTPS websites won’t load. Alternatives include TenFourFox (a fork of Firefox) and InterWebPPC (a fork of TenFourFox). Both are discontinued, but InterWebPPC’s latest version (from 2023) is a bit more recent.

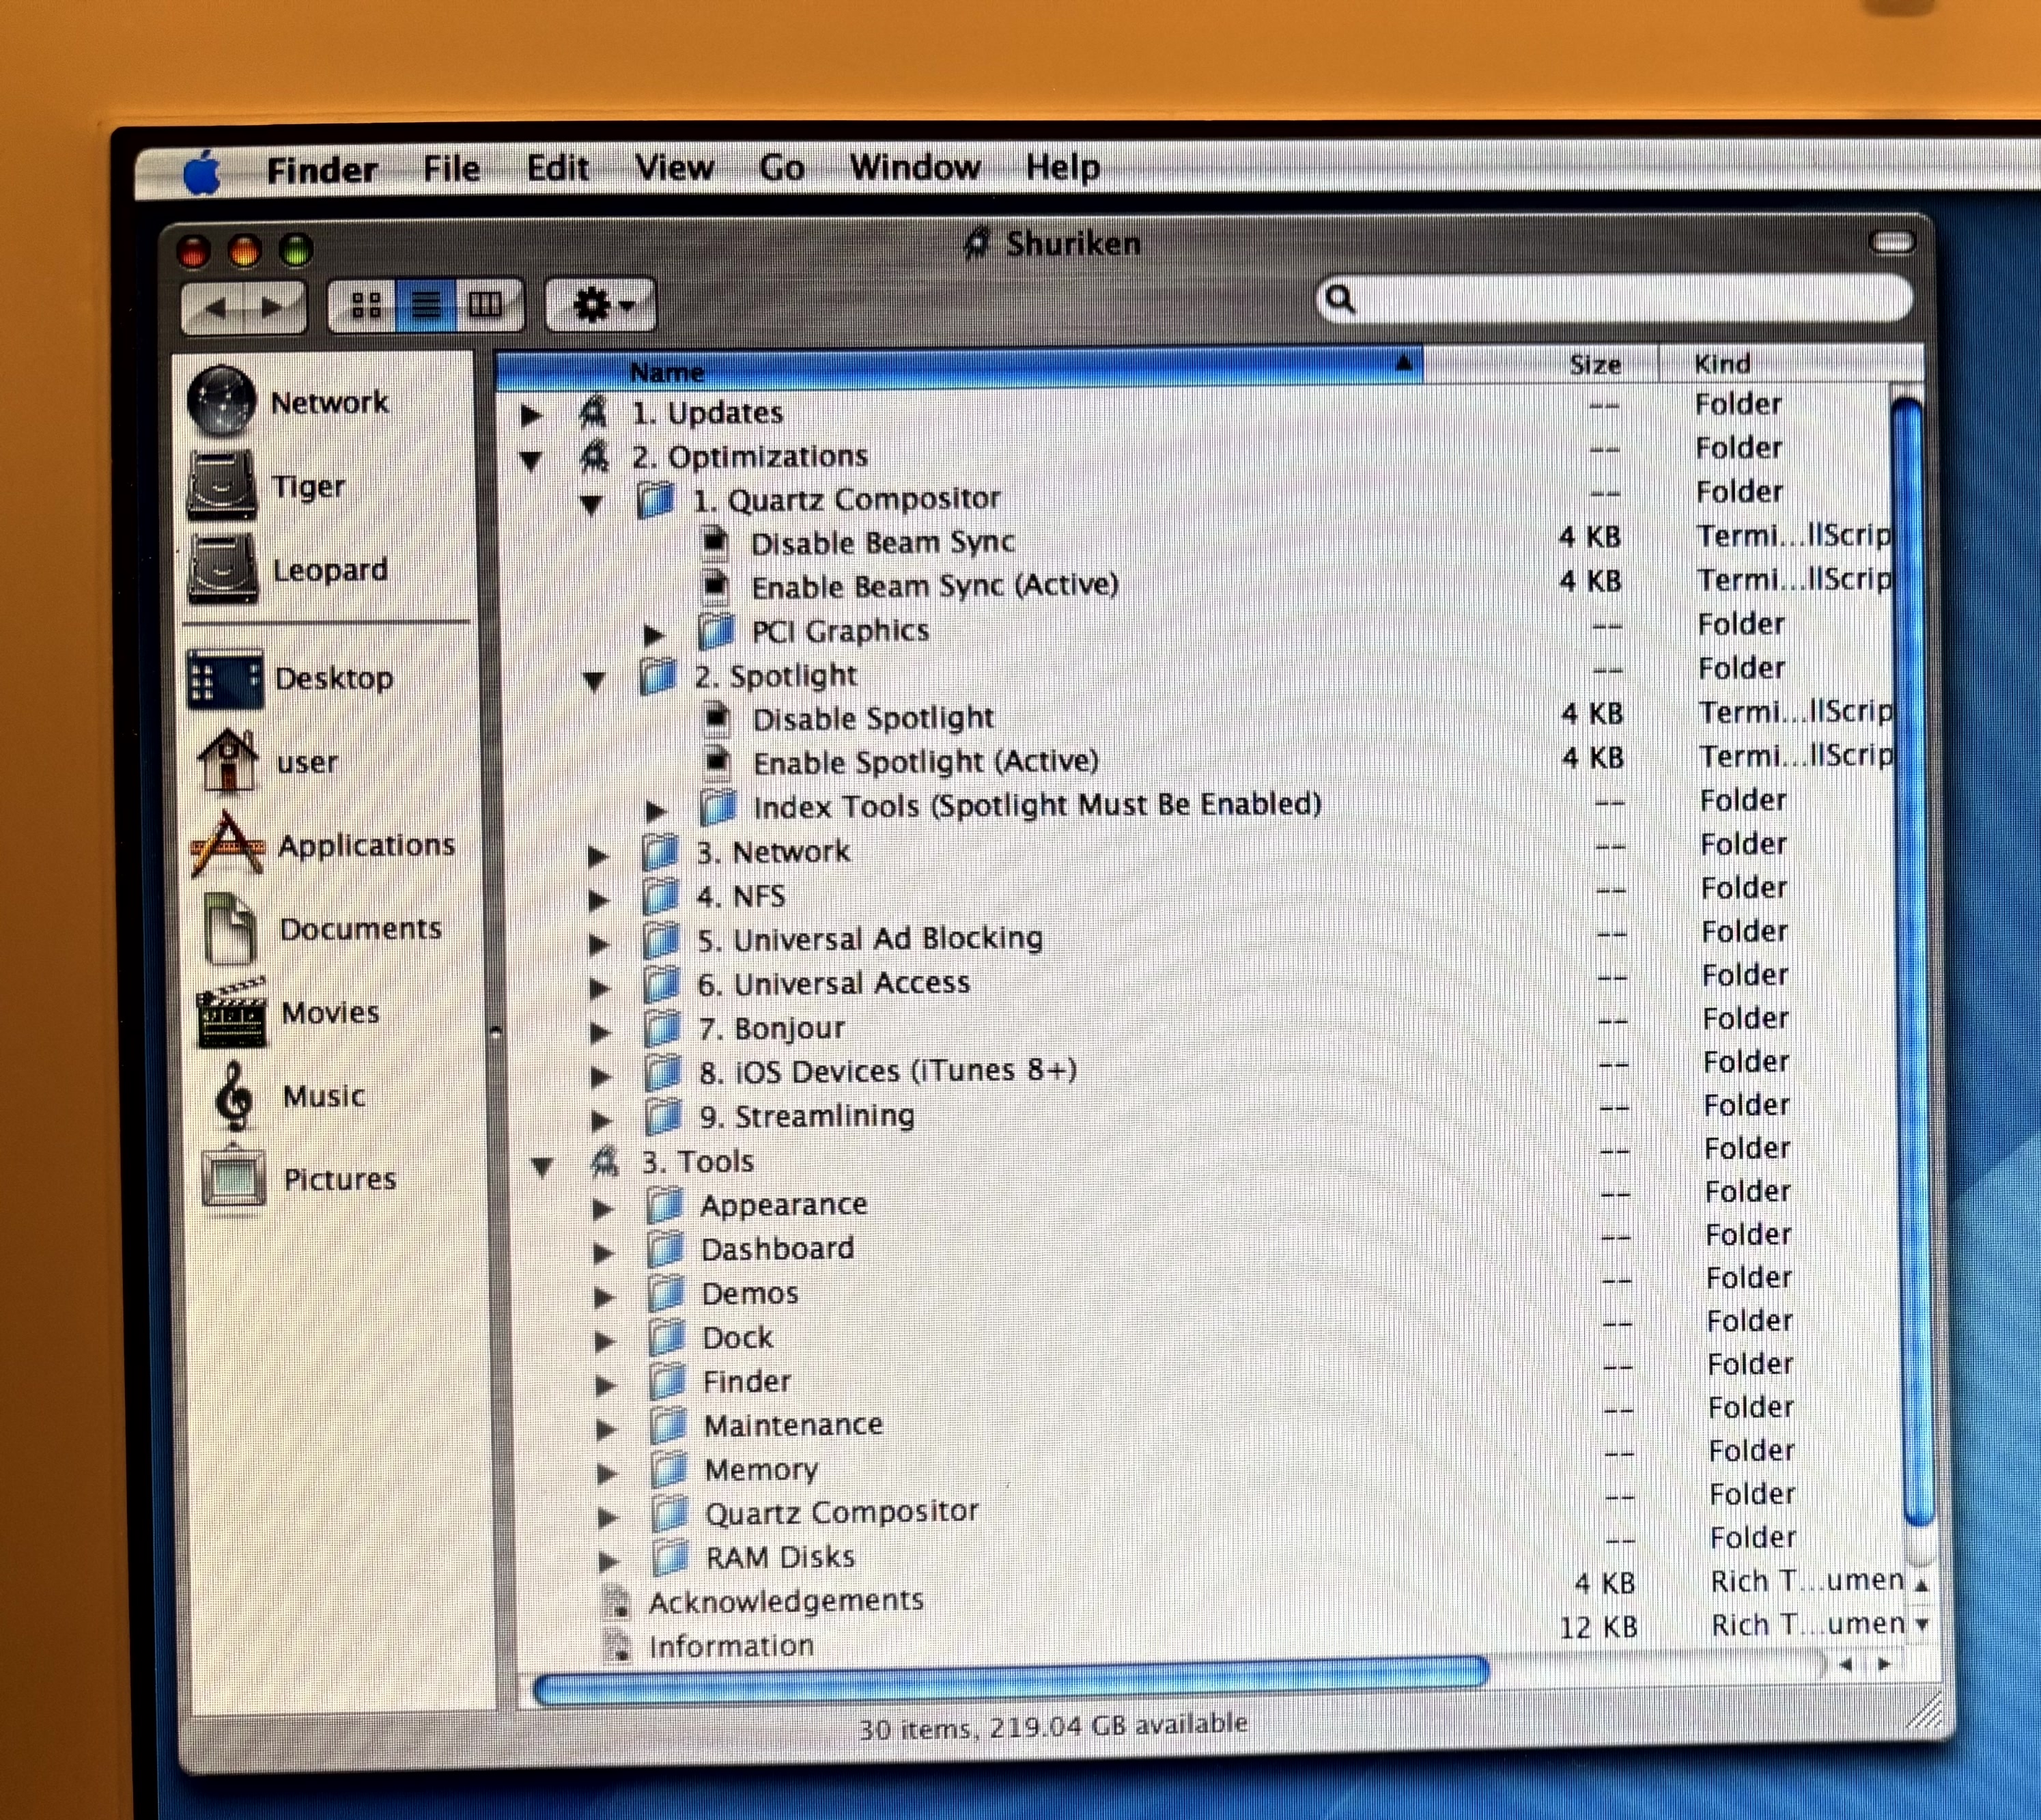
Shuriken and Sorbet Leopard
Shuriken is a collection of scripts for Tiger, mainly aimed at improving system performance. Sorbet Leopard is a modified version of Leopard that includes updated certificates, performance tweaks, and other patches. Both were created by the same developer but are no longer maintained.
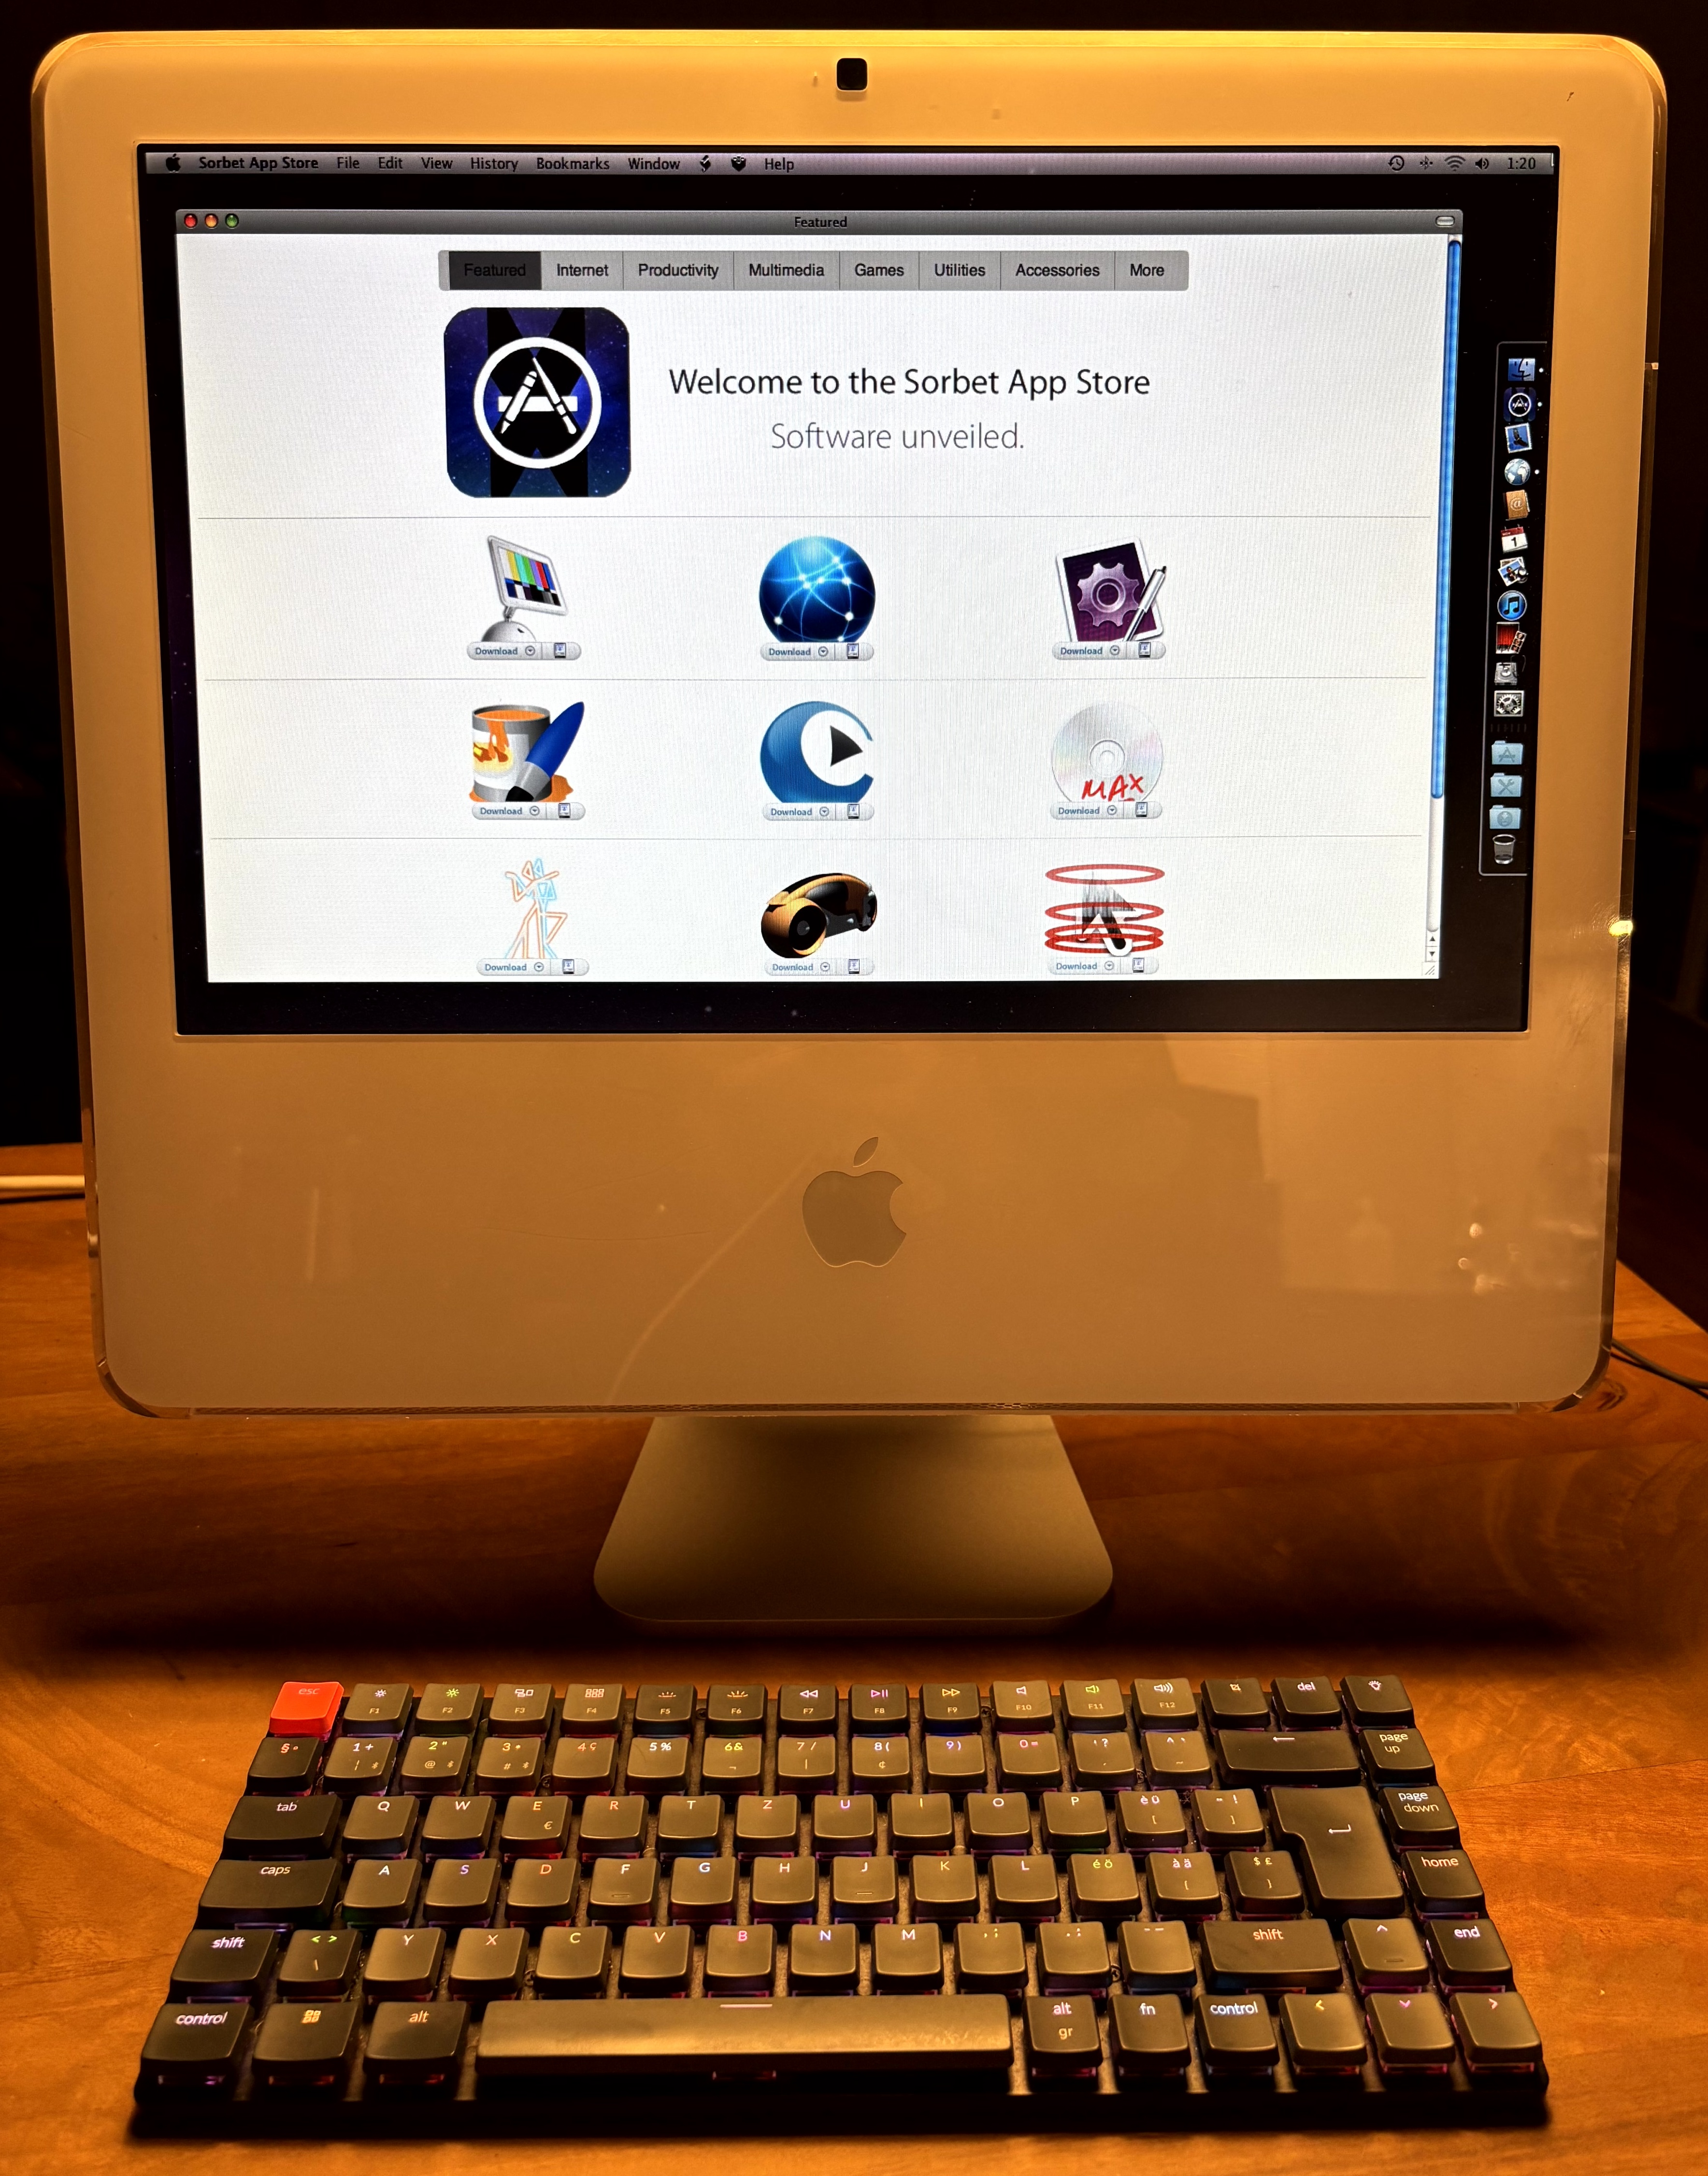
Conclusion
I’d been meaning to tackle these upgrades for years, and it’s deeply satisfying to see this iMac running smoothly again!